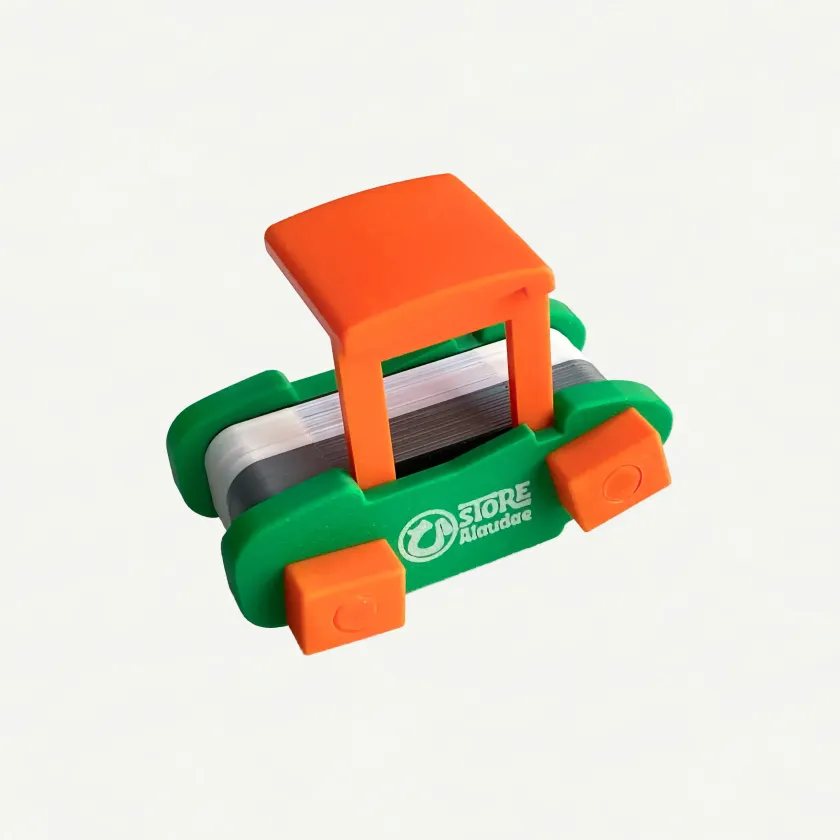
PP Strap Slimming Tool Filamenta Slit FILAMENTA-SLIT|For Craft Use
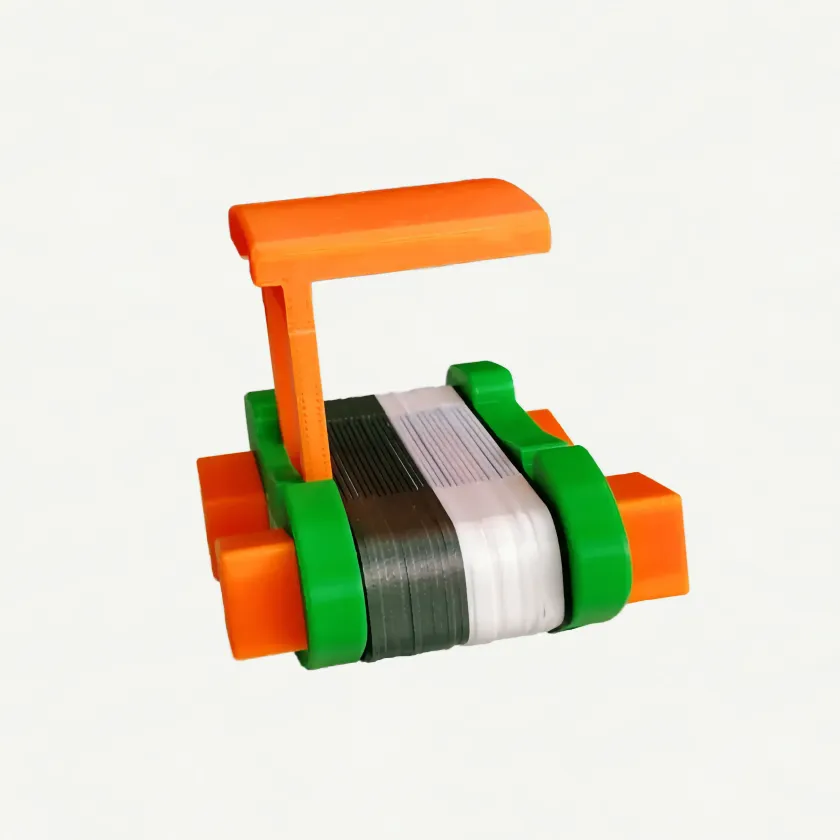
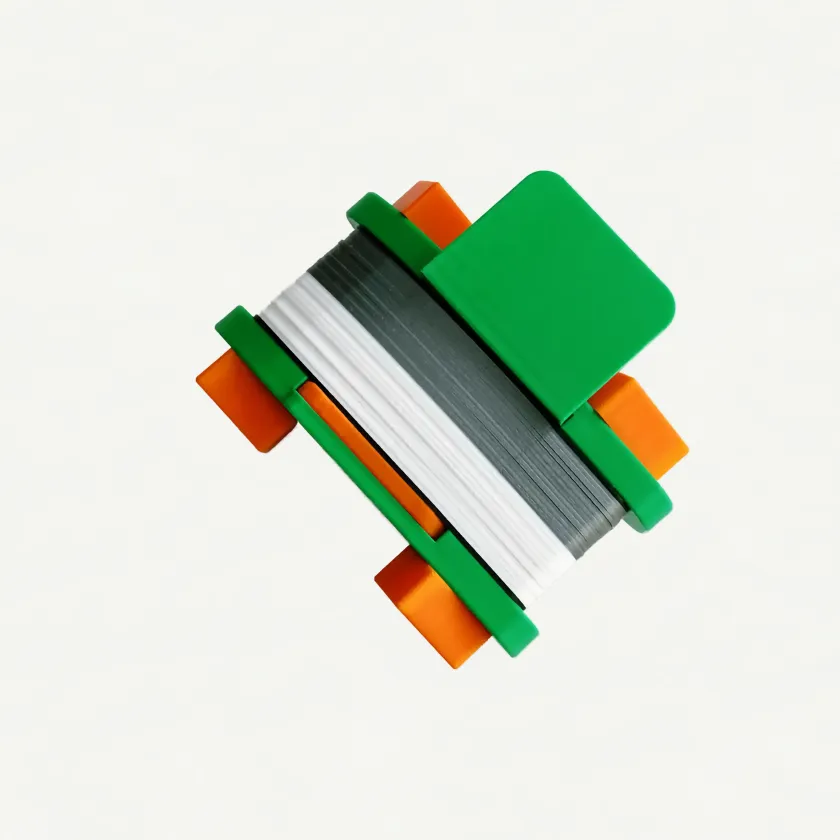
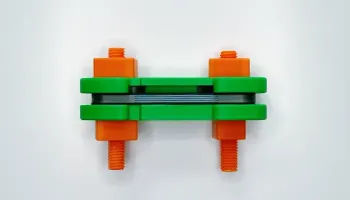
Product shape and dimensions
-
Paperless documentationSpecifications, dimensions, and the manual are published on the website in real time (no PDF or printed copy included).
-
Design specification (mm)
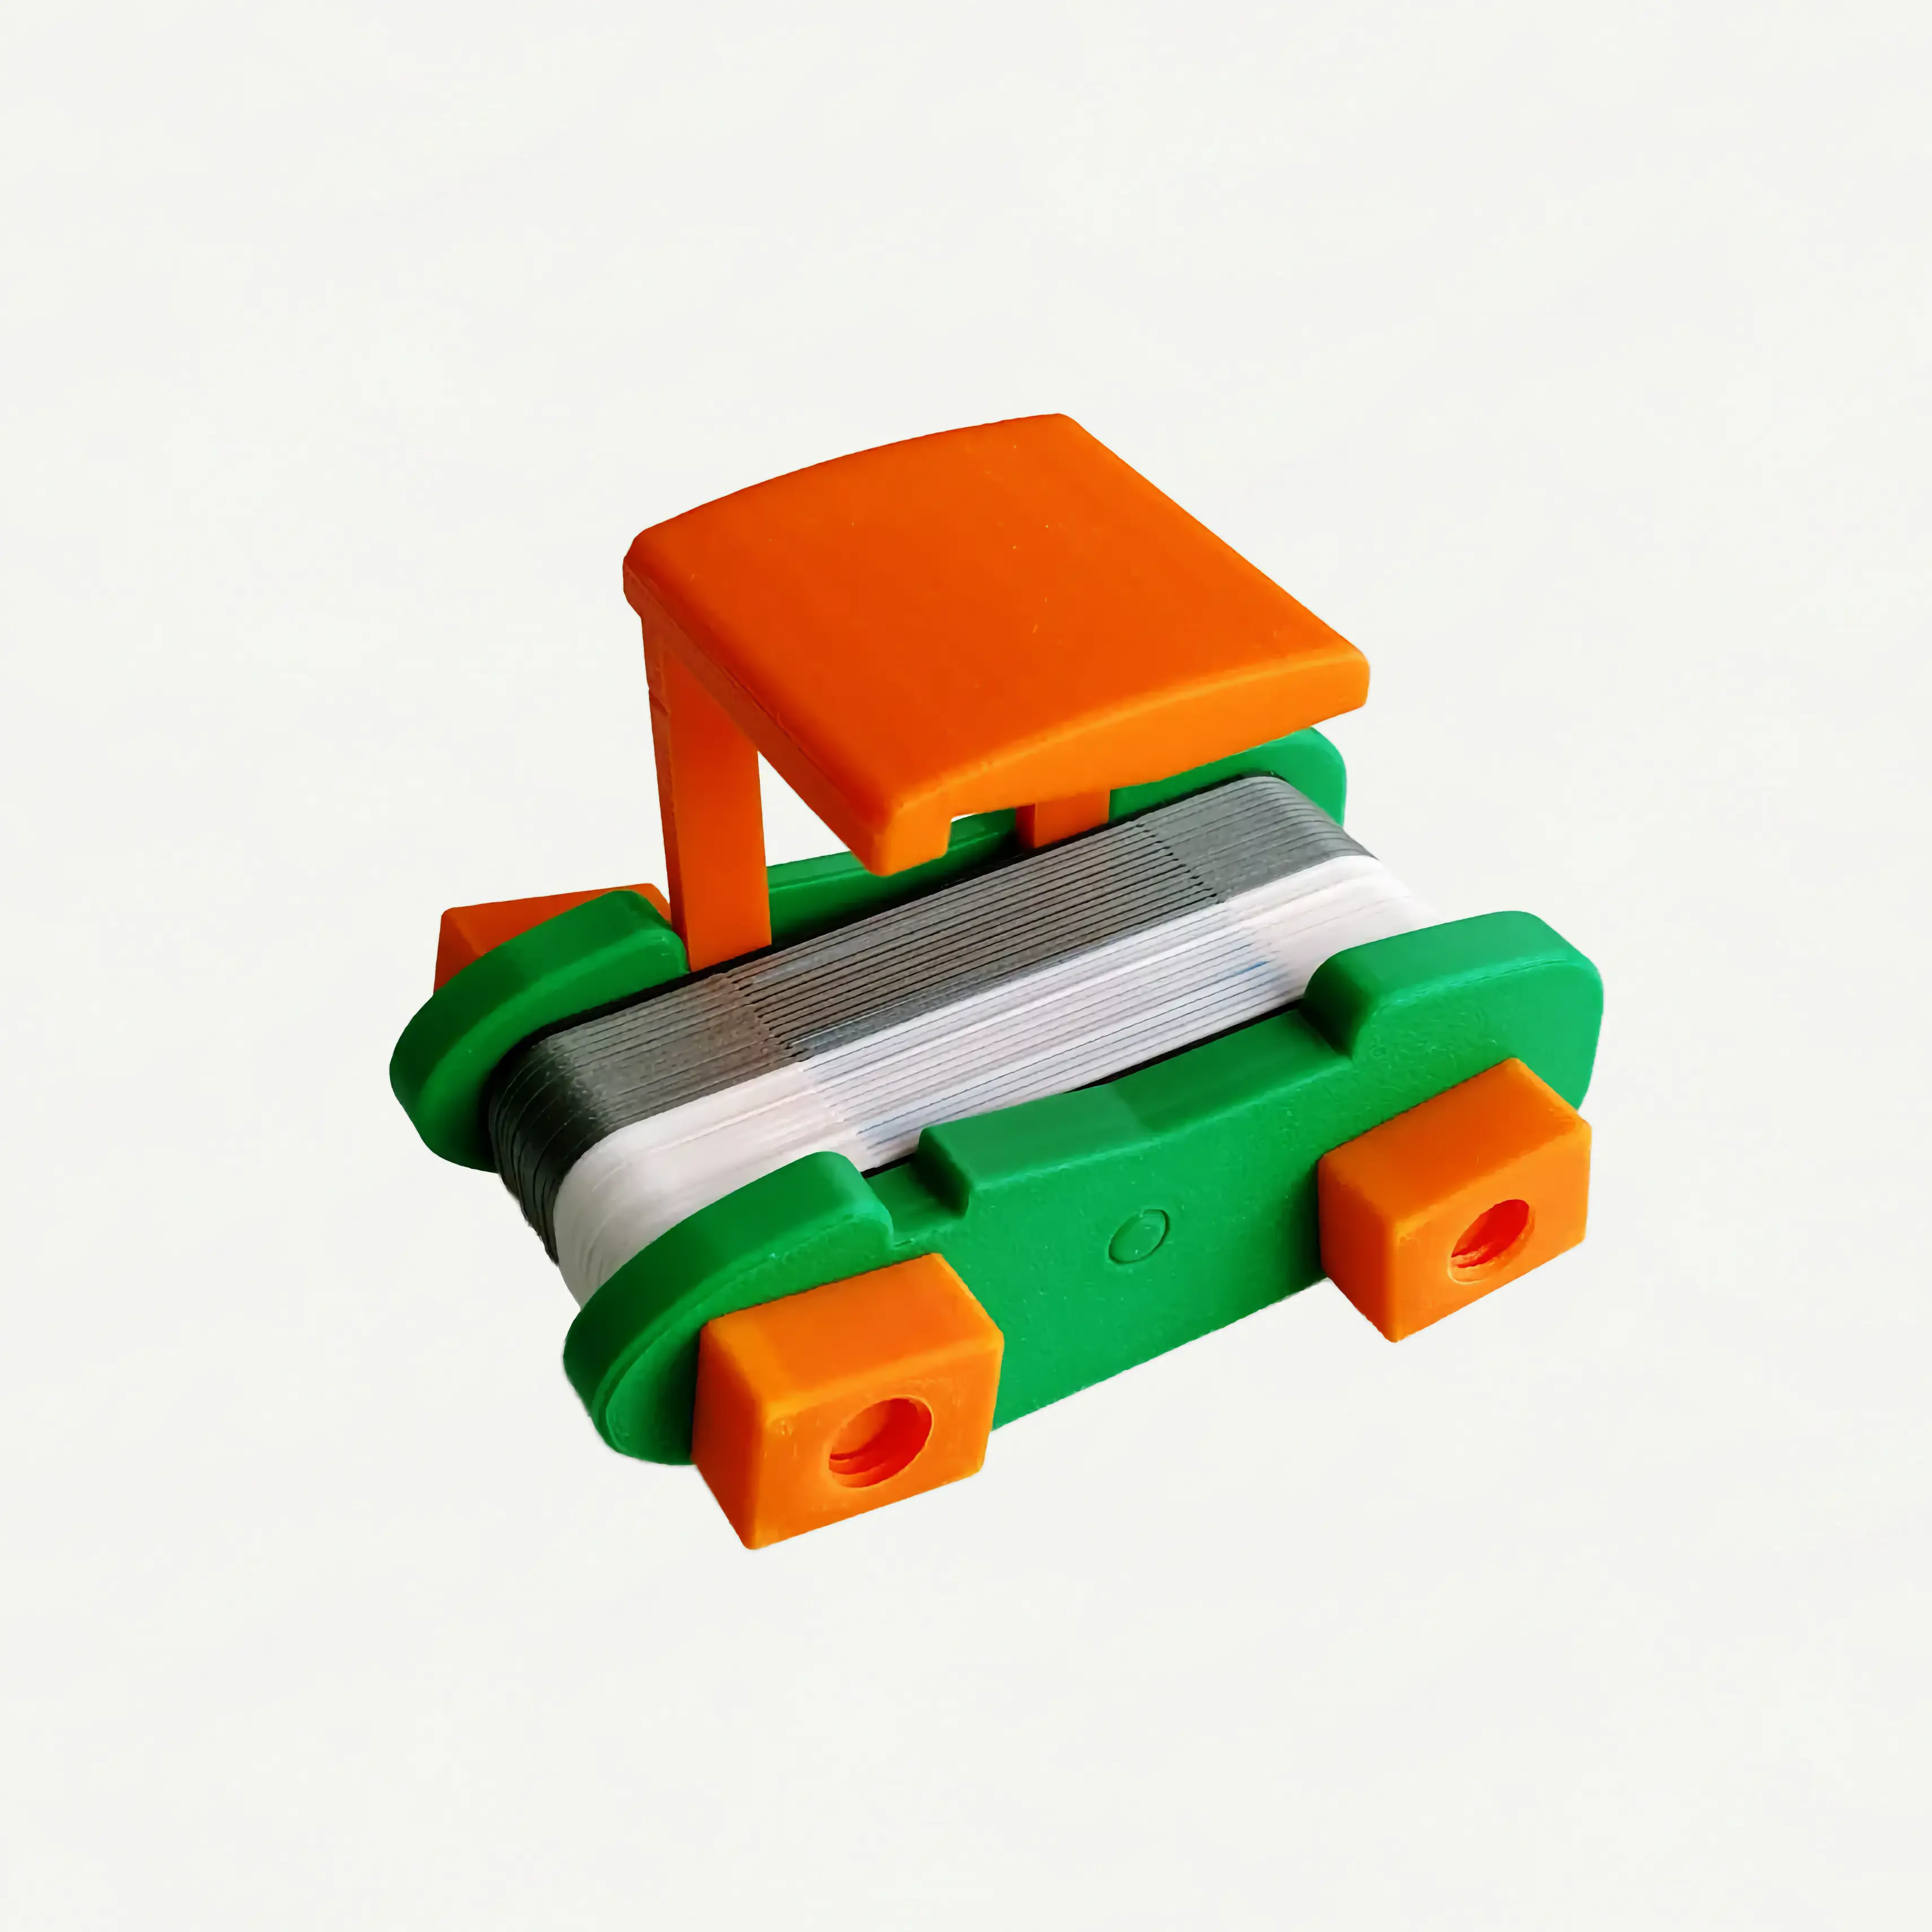
Length 100 x Width 67 x Height 46
-
Minimum requirement (mm)Length 100 x Width 67 x Height 42
-
Maximum requirement (mm)Length 100 x Width 84 x Height 74
-
Base weight (g)110.7
-
Safety bracket (mm)Short: Height 40 x Width 44 x Depth 45; Long: Height 70 x Width 44 x Depth 45
-
Included custom spacers (pcs)White 14, Silver 14, Black 2
-
Custom spacer thickness (mm)1.01~1.10
-
Blank pieceThickness 0.16 mm
-
Blank piece mountingDouble-sided tape: acrylic-based adhesive, urethane-based adhesive; thickness 0.16 mm
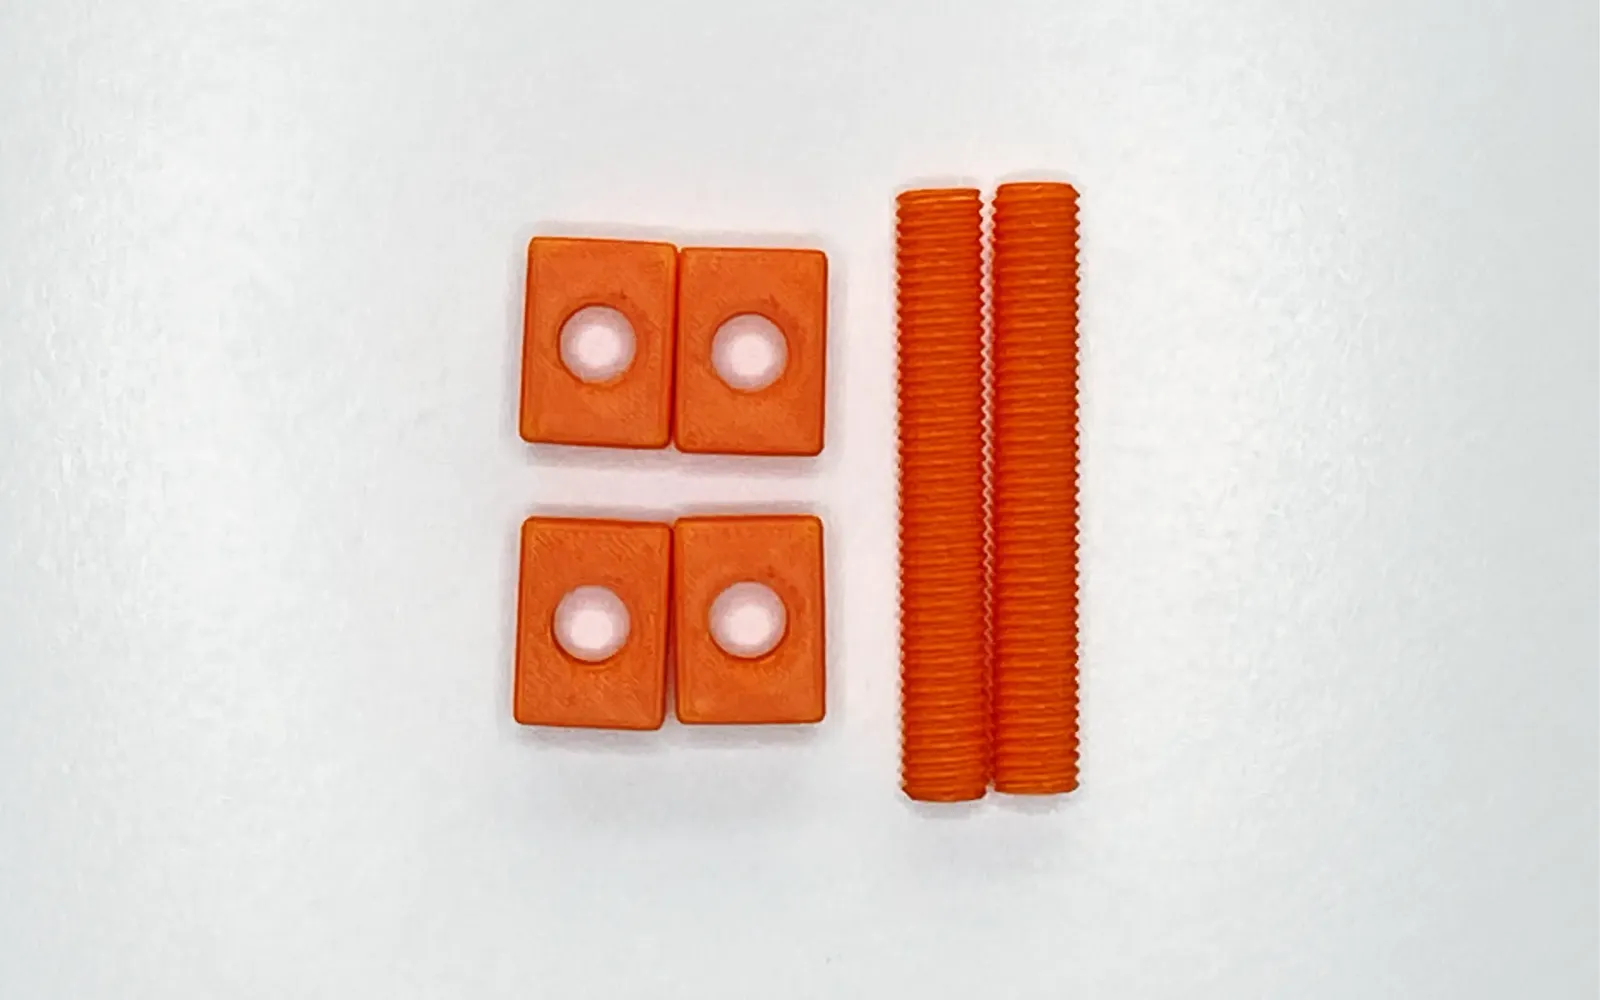
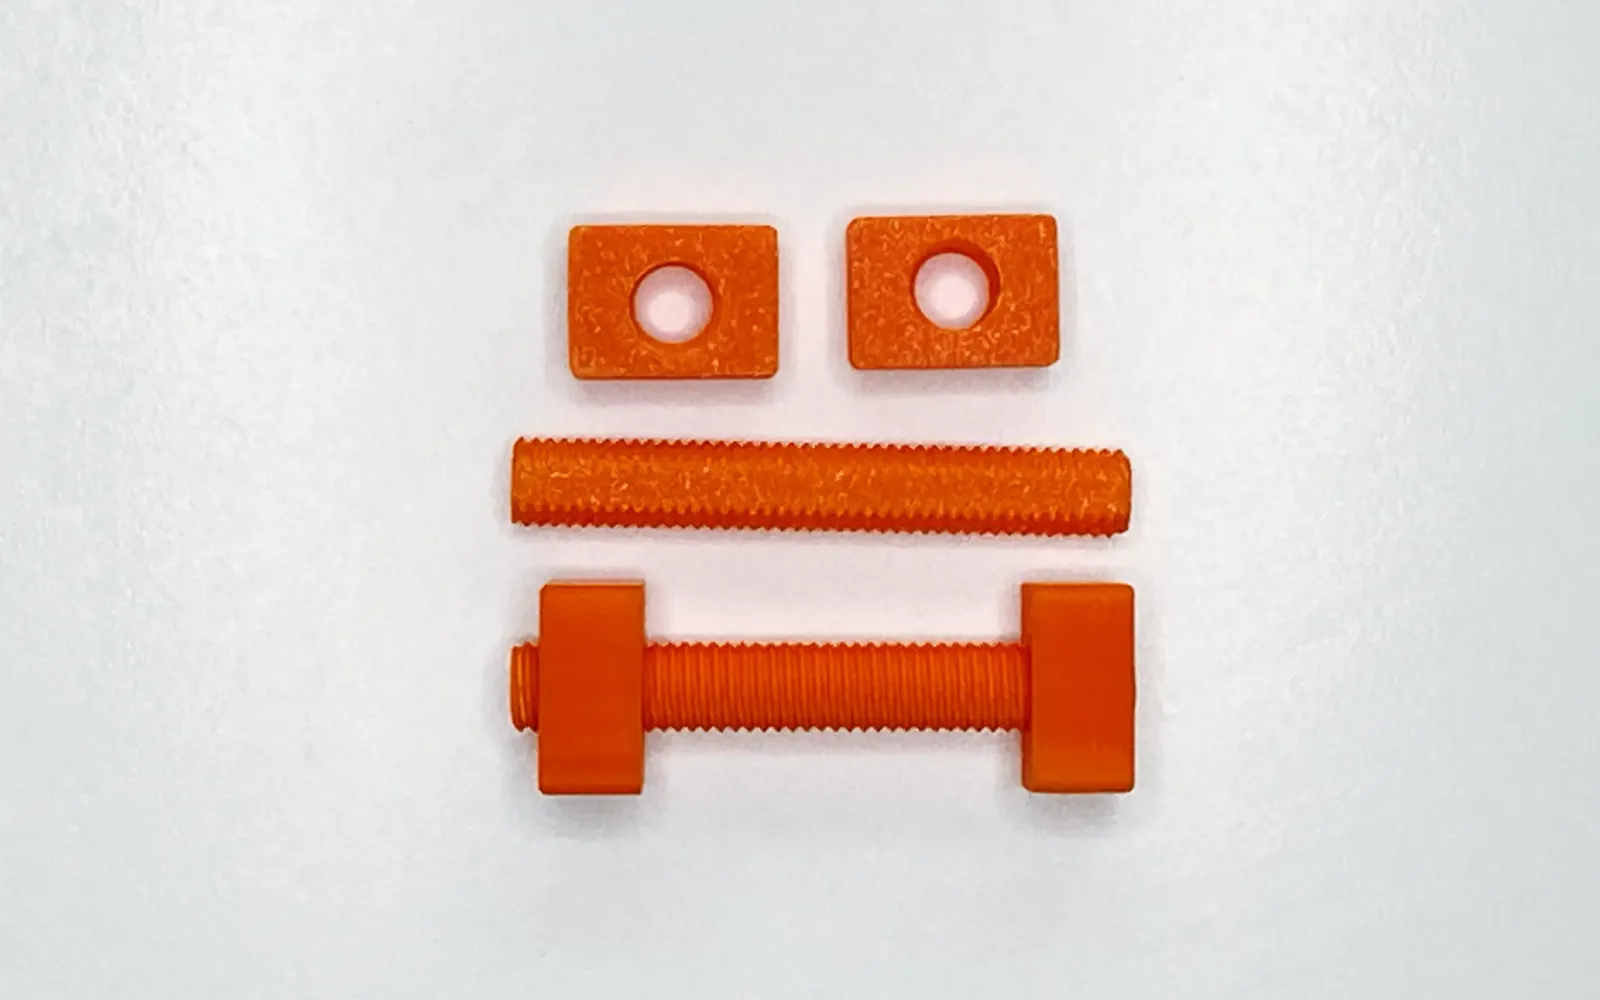
-
3D-printed nutM10 custom nut x 4
-
3D-printed boltM10 x 65 mm, fully threaded x 2
-
Fixing bracket (mm)
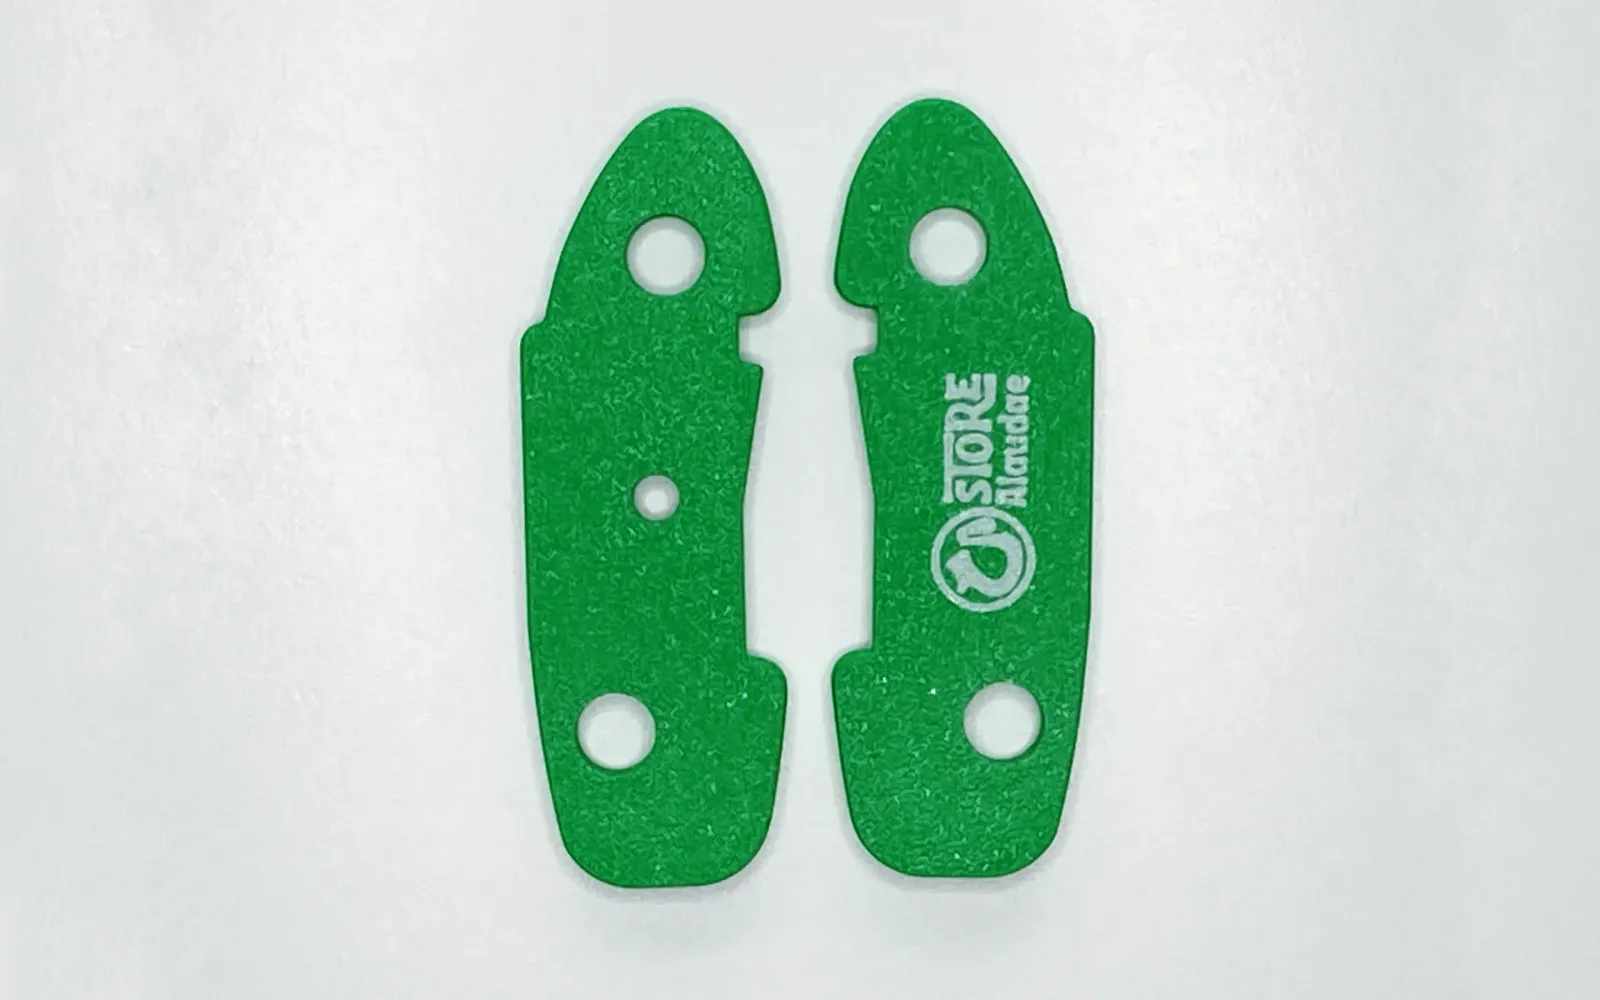
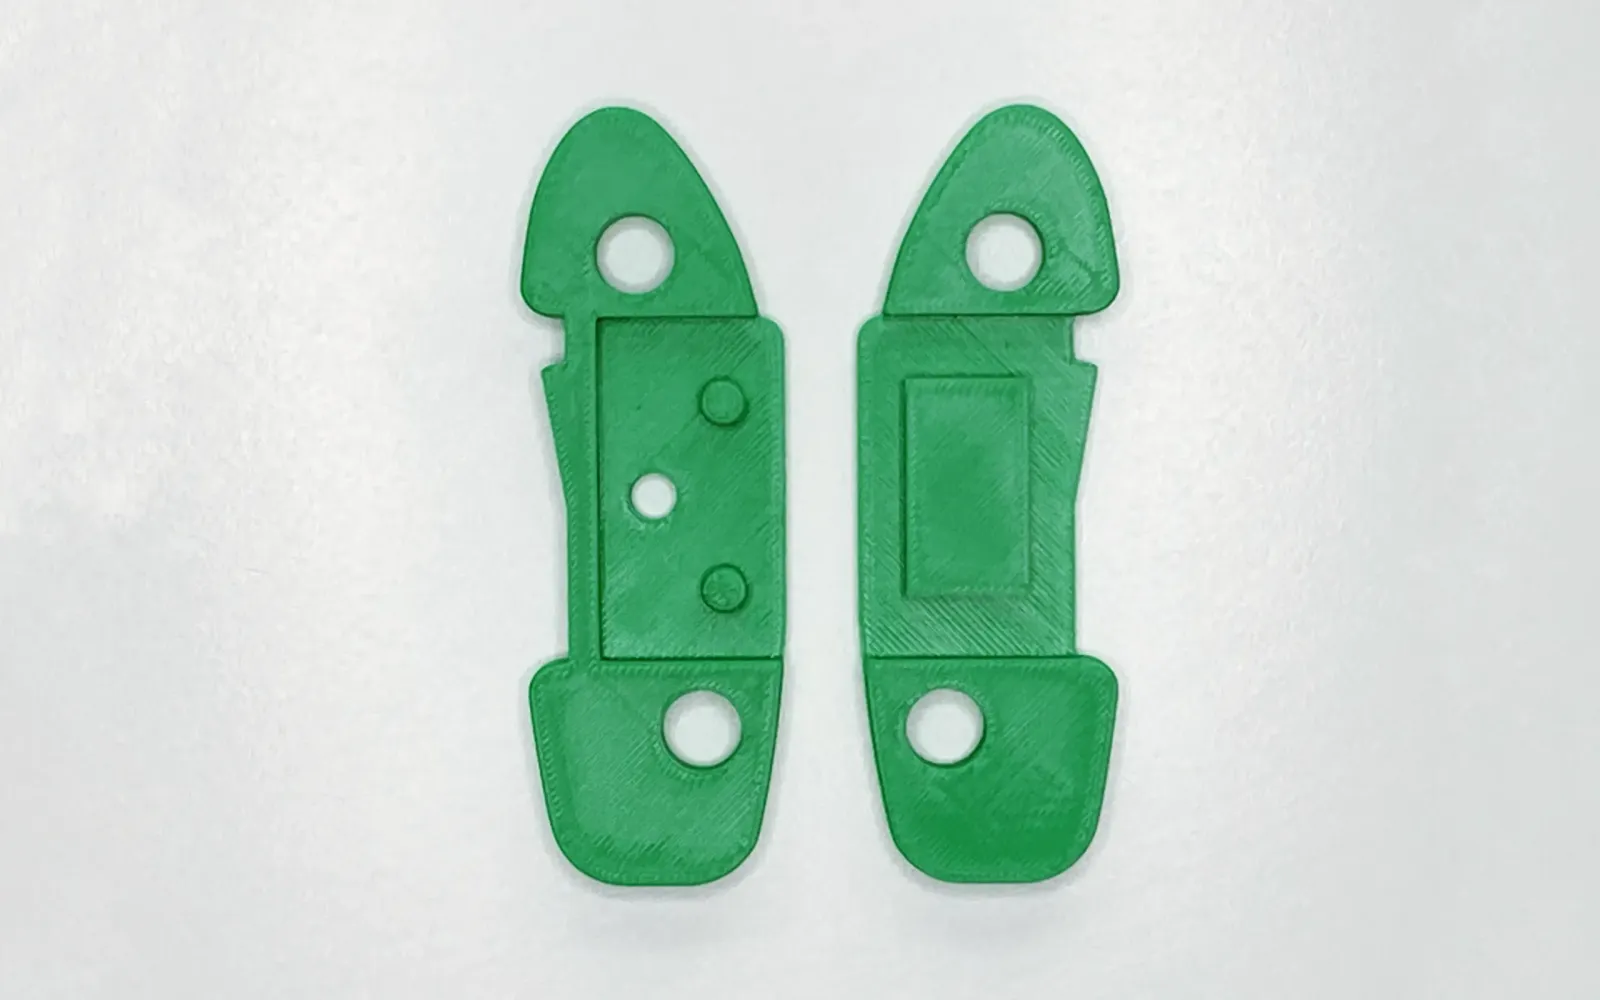
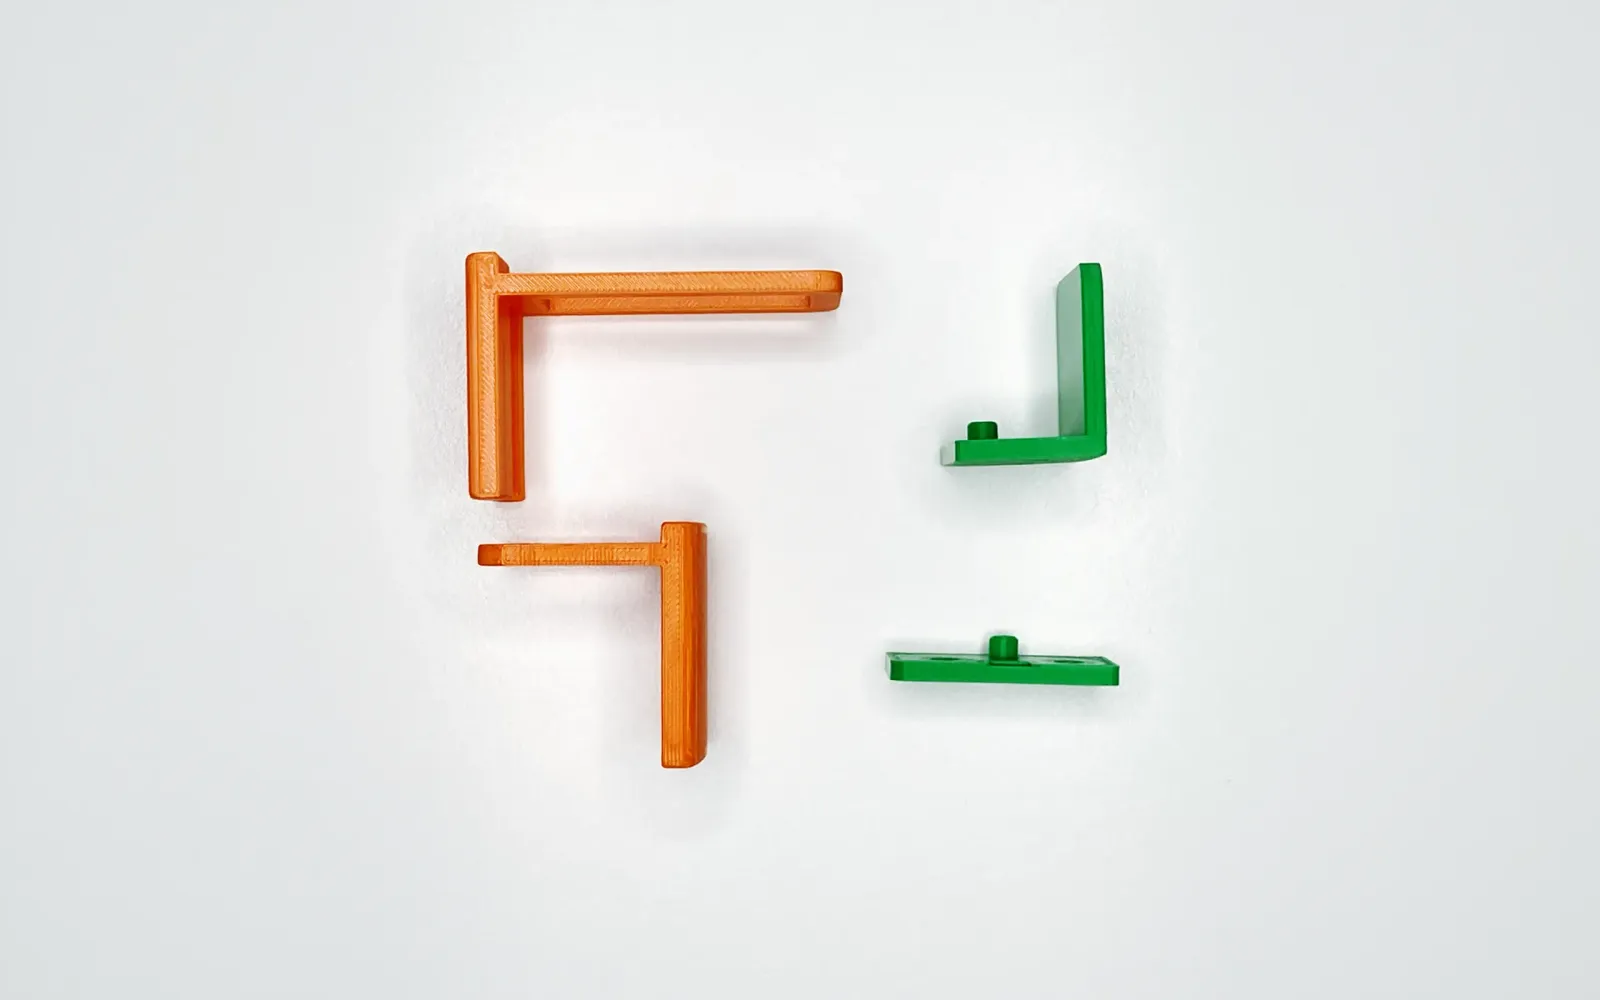
Freehand type x 1, L-shaped x 1 / Length 28 x Width 34 x Thickness 4
-
MaterialAll parts except the blade are ABS resin
-
Replacement blade materialStainless cutlery steel; 5 blades included
In the Box


Filamenta Slit is a revolution in narrowing PP bands. Achieve narrow widths quickly, beautifully, and uniformly. With Filamenta Slit, anyone can do it. For those who pursue beauty in handcraft. Enjoy narrow-width processing.
Product code: FILAMENTA-SLIT
Naming Story
Filamentta (Filamentta Slit) is an enchanting name, drawn from the word that signifies "a fine thread" or "fiber," immediately evoking the delicacy and dedication of handcrafting.
The gentle resonance of this name perfectly aligns with its function, as it suggests its role as a creative jig for products that shape fine, delicate objects. We chose it because its elegant cadence seamlessly blends into the graceful world of needlework and creative crafting, enriching the joy and satisfaction of bringing beautiful pieces to life.
Cute & Capable — Seven Little Joys
True to its name, the Filamenta-Slit is a precision cutting tool made to create fine, thread-like bands. Where most PP-band cutters only split a band into equal parts, this one lets you cut slim bands to the exact millimeter. So whether you're doing delicate handcraft or careful design work, you can make any width you like — supporting your creations more precisely, and more beautifully.
The secret behind this precision is the set of built-in spacers. The tool comes with 30 of them — 14 white, 14 silver, and 2 black, each about 1 mm thick — so you can work with materials up to 30 mm wide. You'll notice they're "about" 1 mm rather than exactly 1 mm, and there's a reason: we make them on a home 3D printer. By the nature of 3D printing the thickness isn't perfectly uniform, but doing it this way — instead of relying on costly outside machining — keeps the price down. It's a small choice we made so we could offer this handy tool at a friendly price.
The Filamenta-Slit goes wherever you do. Hold it in your hand and cut freely, or fix it to a table for extra stability. That freedom to cut handheld comes from making the whole tool — body, bolts, and nuts — from lightweight ABS resin. At just around 120 g altogether, it's gentle on your hands even during long sessions, so you can enjoy precise cutting anytime, anywhere, in your favorite spot.
A safety bracket gently protects the fingertips that guide your tape and materials. It holds the material softly from above as you draw it through, so there's less snapping back or unexpected catching — and fewer of those "oops!" moments while you work. There are two types to suit how you like to work: a Long type, which lets you check the material width and blade width each time, and a Short type, for getting started right away. Choose whichever feels right, and enjoy a safer, more relaxed time with your craft.
After plenty of testing, we found that up to about five razor blades is the sweet spot for cutting smoothly and steadily with one hand. Beyond that, friction rises sharply and it takes noticeably more force. So if you'd prefer a lighter touch — or you're not too sure about your strength — we'd suggest working one-handed with just two or three blades. Based on this, the tool comes with five razor blades as standard. It's the balance we settled on so that as many people as possible can enjoy both a clean cut and easy handling.
The "blank piece" that brings out the tool's full accuracy is fitted into the body from the start. Its role is to keep everything firm and stable when you're not using a razor blade. If you fixed the spacers without it, a tiny gap would form and the spacers couldn't do their job properly — and that's what leads to ragged edges or bits left uncut on fine PP band. To prevent this, we pair the blank piece with double-sided tape to fill that gap completely. The result is far steadier fixing, a sharp cut, and a beautifully straight finish.
The Filamenta-Slit is like a blank canvas, full of possibility. We deliberately gave it only the most essential, pared-back functions — because we believe its real power, and the most interesting ways to use it, are yours to discover. Even the finest tool truly comes alive through the ideas and ingenuity of the person using it. So please, find your own way of working with the Filamenta-Slit. We can't wait to see where your imagination takes it.
Pre-Purchase Q&A
A note for anyone who'd like to do most of their cutting freehand, holding the tool in hand. While filming a cutting video before launch, we noticed an important safety point. Even when you fix the spacer and the included double-edged razor blade with double-sided tape, if the setup isn't quite perfect the blade edge can poke out slightly from the underside — and we'd hate for that to nick your finger. So here's a simple way to stay safer: instead of the included double-edged razor, please prepare a single-edged razor of your own. A single-edged blade has a flat, non-cutting side, so even if it slips out underneath, it helps prevent injury. If you plan to use the tool freehand a lot, we'd gently suggest getting a single-edged razor ready first, for safe and relaxed crafting. We're cheering you on!
It was made to answer a simple wish: "I want to make things more neatly, and more easily." In fine handcraft, the tiniest misalignment can change the whole finish. Unlike the rough, "divide into equal parts" approach of other products, the Filamenta-Slit lets you cut accurately without relying on intuition or special technique. Just set it up beforehand, and anyone can cut precisely to the millimeter — trimming your working time considerably. Use it to make your hobby time more enjoyable, and to bring your finished pieces to a whole new level.
The price reflects the special quality that supports your dedication to your work. To achieve a unique design tailored to delicate work — something you won't find off the shelf — we use a high-performance 3D printer and make the most of its capabilities. This lets us create a tool with real precision and durability. Even for a hobby tool, we care about dependable quality you can keep using for years. We hope you'll see the price as a reflection of the care we put into countless prototypes, and of the value of spending less time on fiddly handwork so you can focus on creating.
Each tool is made right here, with care, straight from our own 3D printer. We handle everything in-house — planning, design, and production — which means we can quickly turn your "I wish this part were just a little different…" ideas into something real. Every piece is made carefully and with heart, so it works its very best in your hands. That can mean delivery takes a little longer, but the attentive, personal support you won't get from mass production is one of our strengths.
- The key is how you pull: leave plenty of length on the material, then grip it firmly with needle-nose pliers and draw it through. This helps you overcome the friction for a smoother cut.
- Strengthen the hold: if you're trying more blades, swapping the ABS-resin bolts and nuts for metal ones should make the fixing more secure.
- Anchor the tool: fixing it to a table lets you use both hands to pull the material steadily, for a smoother, more stable cut.
【A Little Note】About the "Filament Slit: Standard Included Accessories" You Receive
-
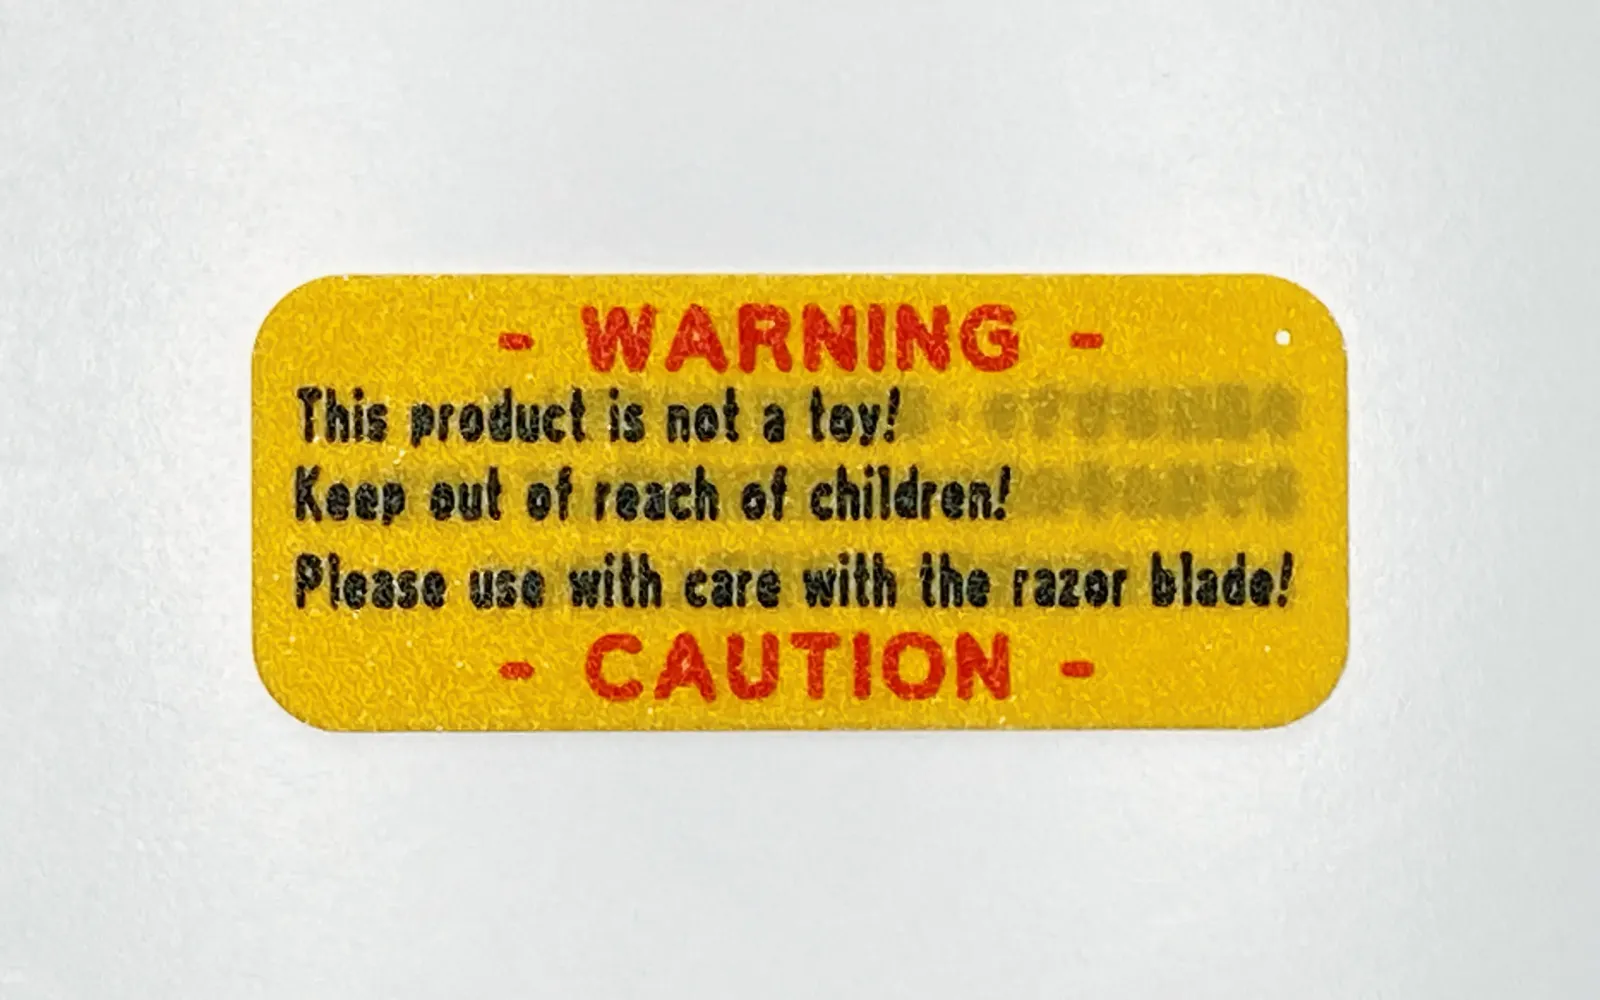
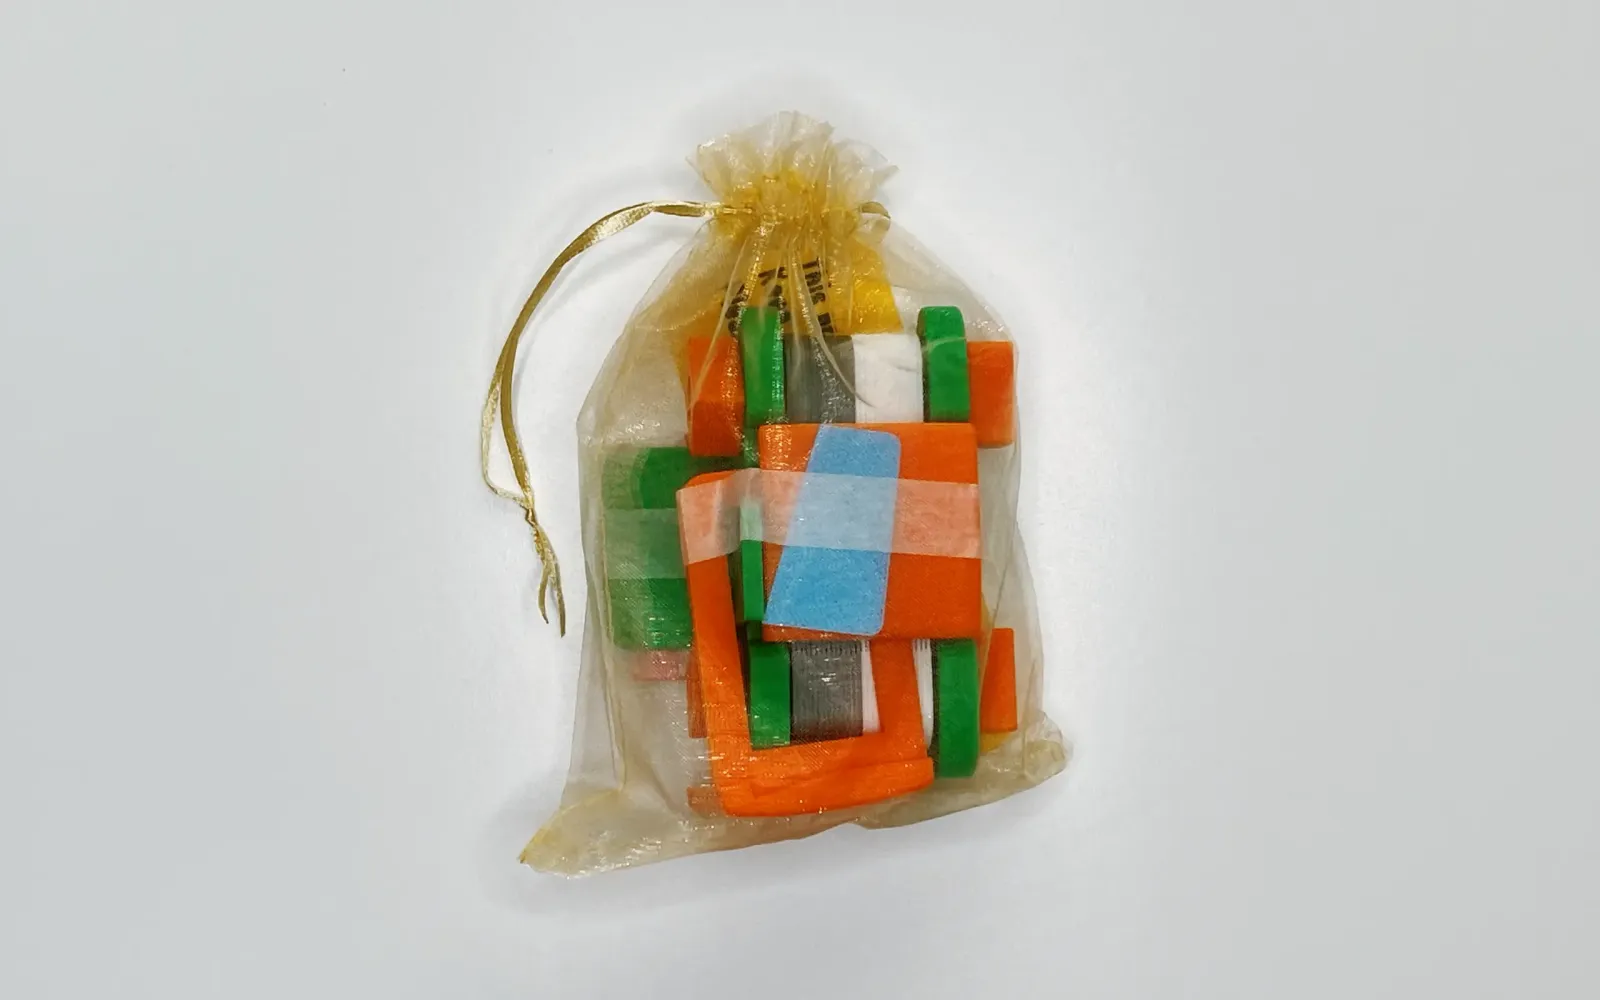
The "drawstring pouch" and the "razor blade packaging" included with your "Filament Slit: Standard Included Accessories" may be changed in design or specifications without prior notice as we strive to deliver even better quality and usability.
-
For example, the pattern on the packaging might be slightly different, or the color of the pouch might be adjusted a little. Please be assured that this will not affect your crafting projects.
-
We hope you can view this as a "small surprise when your order arrives"! Thank you for your understanding as we continue to deliver our products with care.
14 white, 14 silver, and blank pieces installed
14 white, 14 silver
5 razor blades, 2 black, and 1 blank piece installed
5 razor blades, 2 black
4 custom nuts, 2 fully threaded
Main body / outer surface
Main body / inner surface
1 safety long / 1 safety short, 1 L-shaped / 1 free
Caution / Warning Plates
Packed in a drawstring bag
- 14 white, 14 silver, and blank pieces installed
- 14 white, 14 silver
- 5 razor blades, 2 black, and 1 blank piece installed
- 5 razor blades, 2 black
- 4 custom nuts, 2 fully threaded
- Main body / outer surface
- Main body / inner surface
- 1 safety long / 1 safety short, 1 L-shaped / 1 free
- Caution / Warning Plates
- Packed in a drawstring bag
First-Time Crafter Approved: 4 Easy & Essential Spacer Patterns

The Secret of 30 Custom Spacers: Enabling Free Cutting Width Adjustment and High Precision
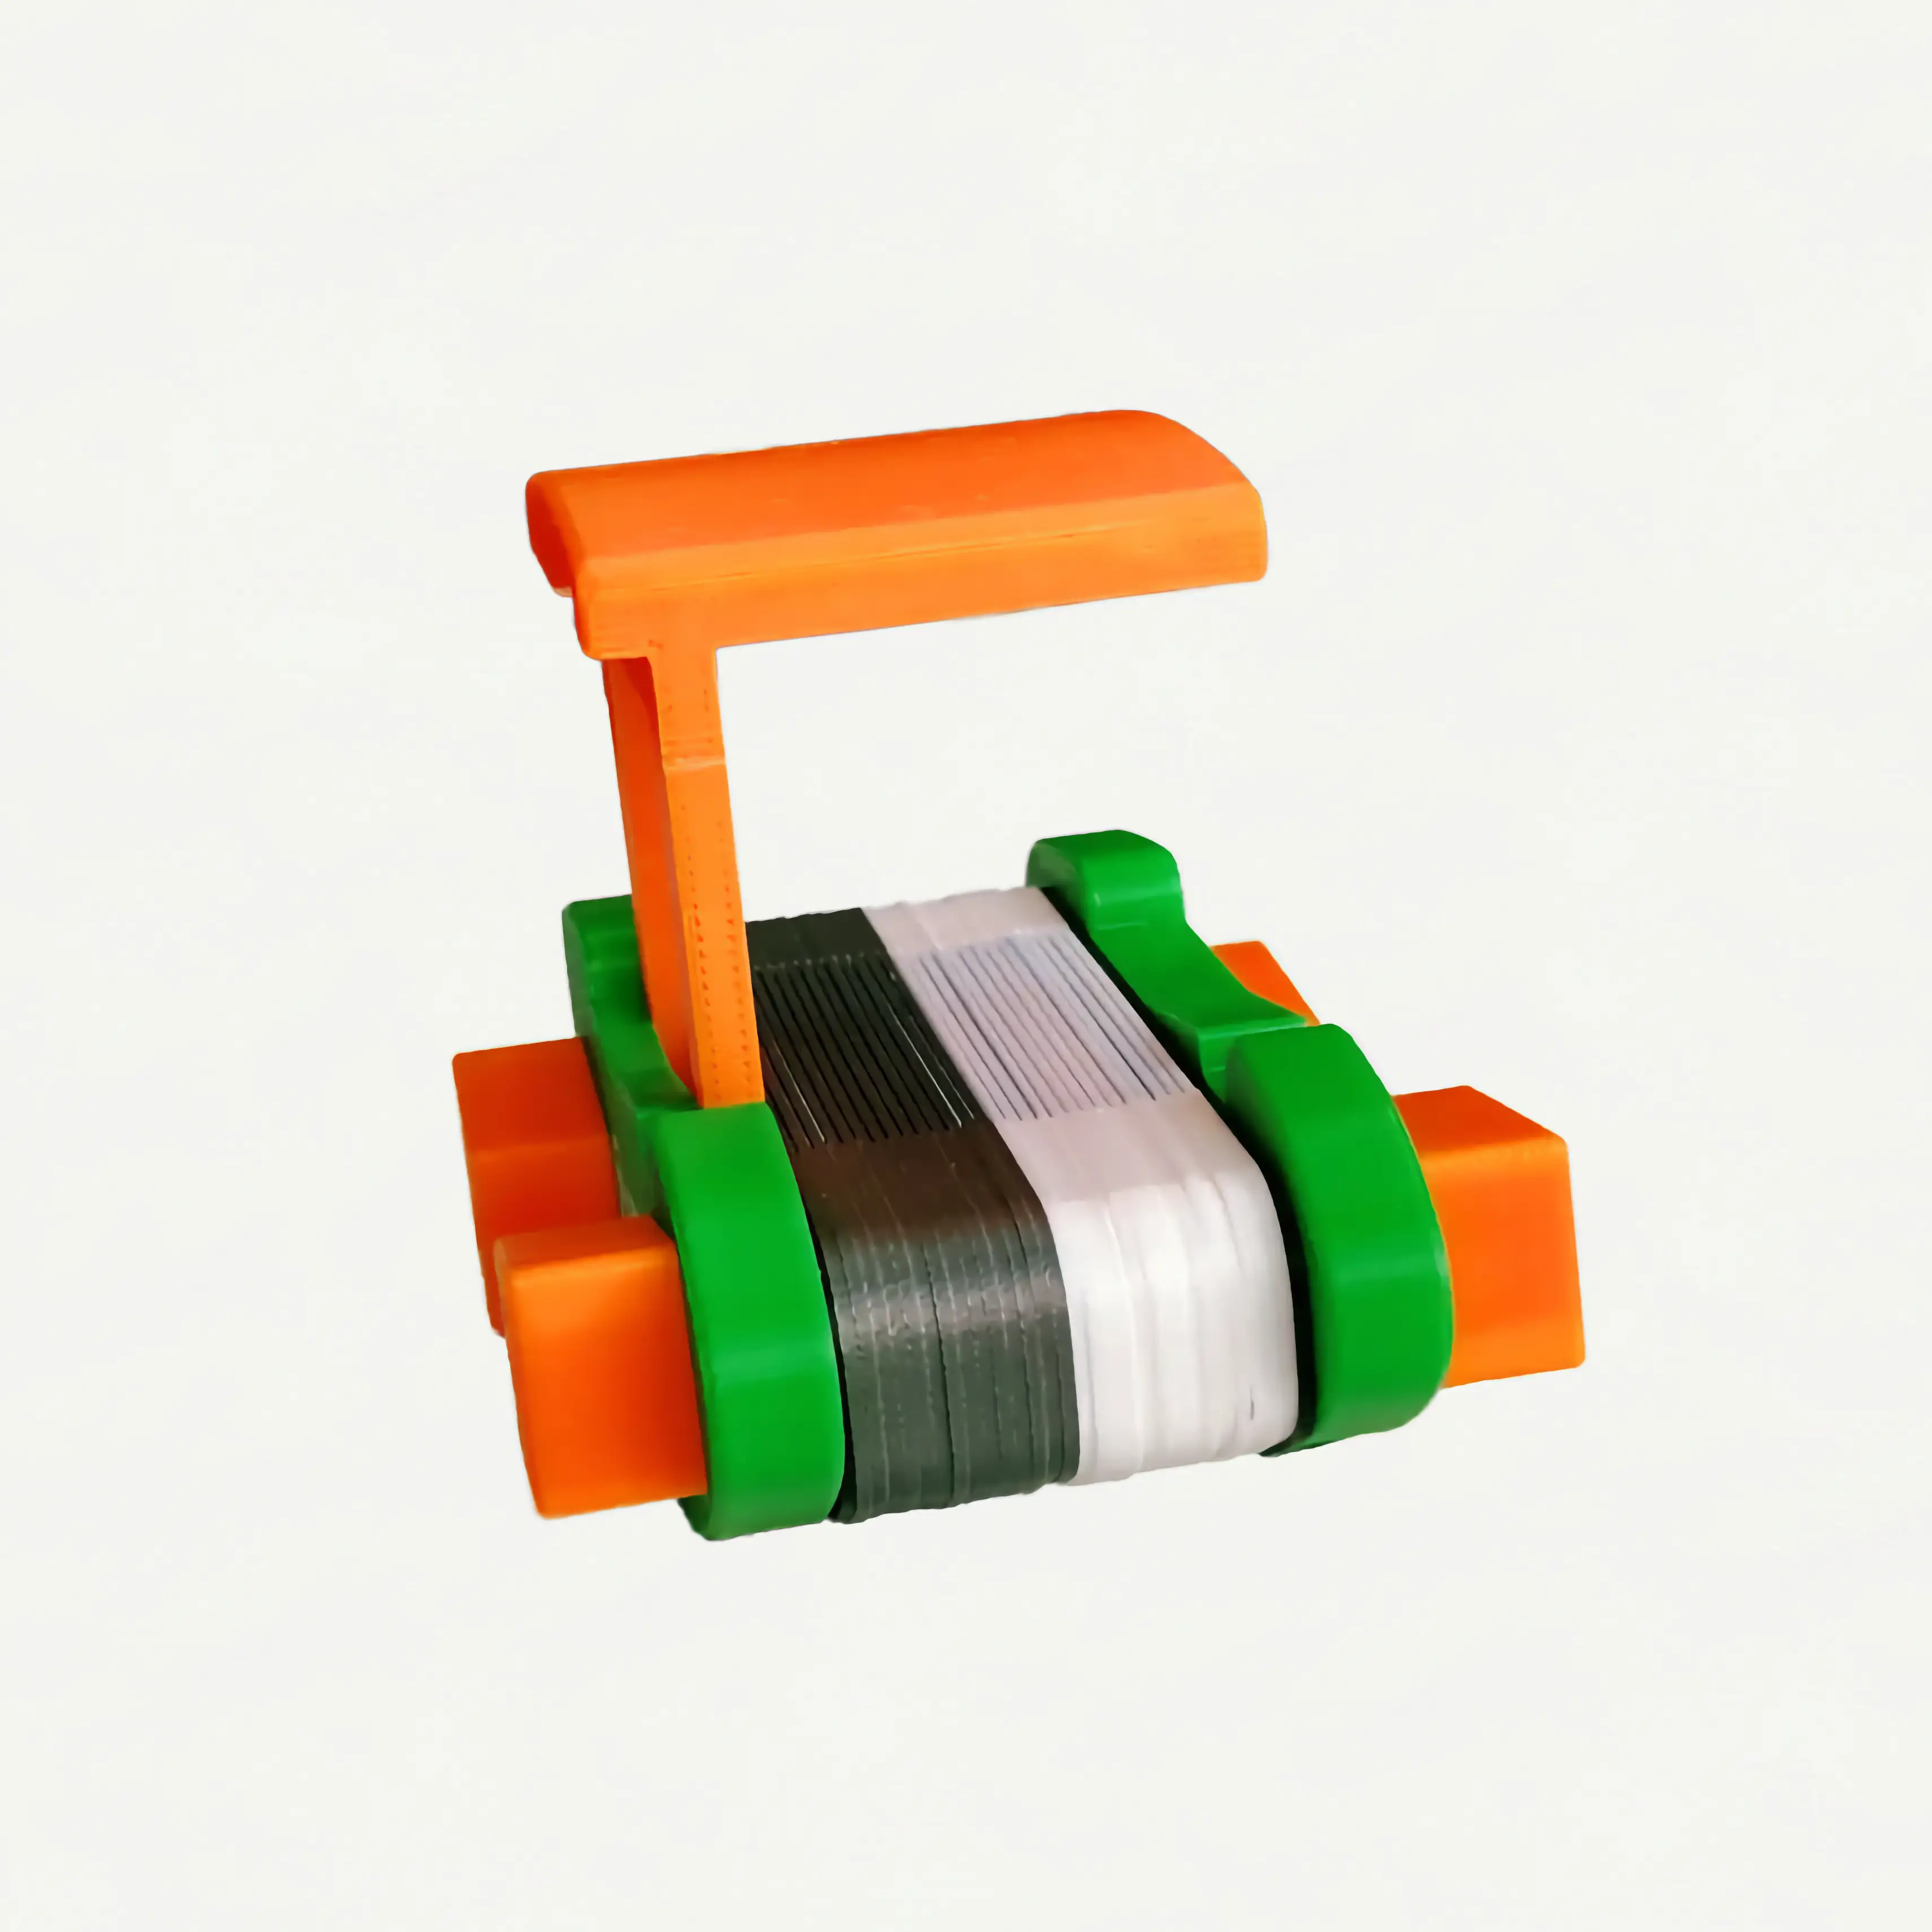
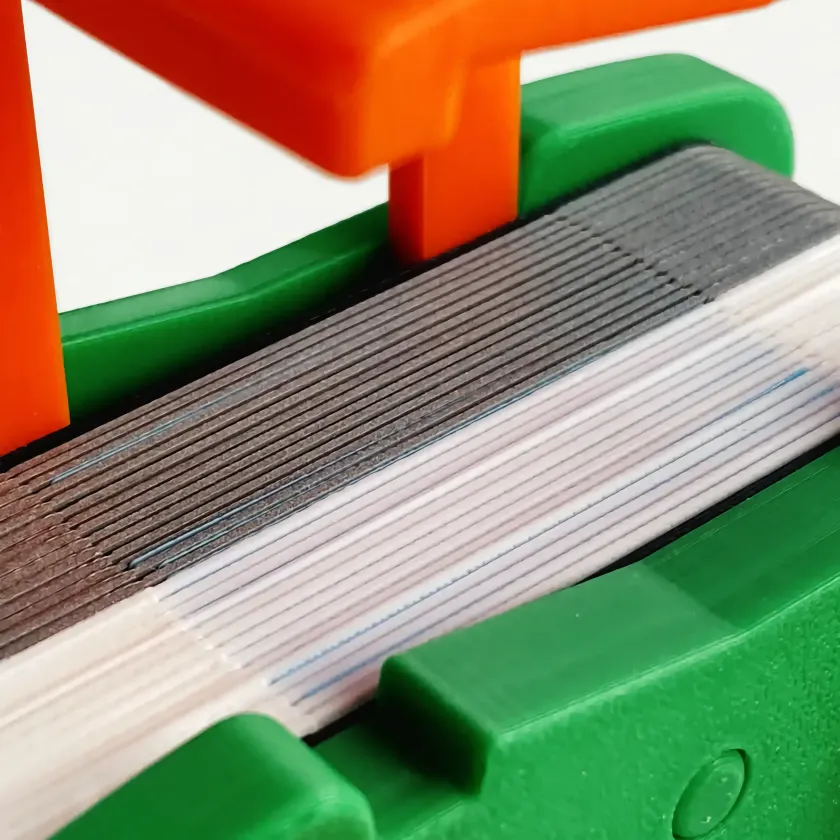
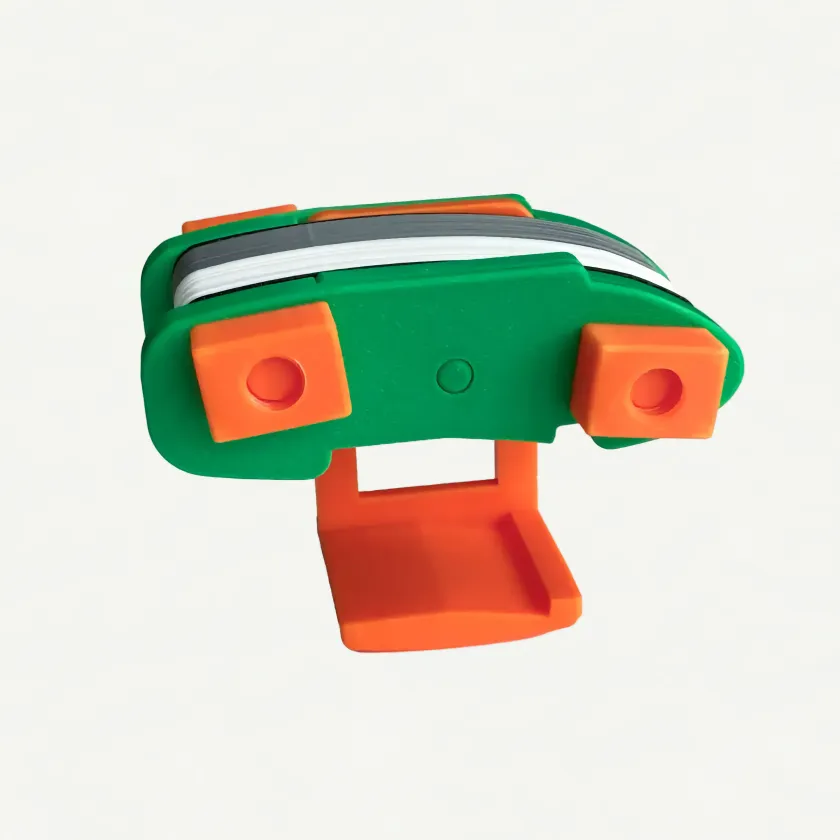
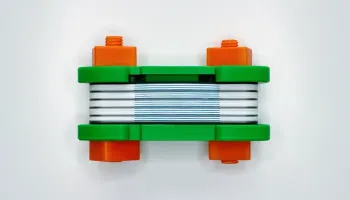
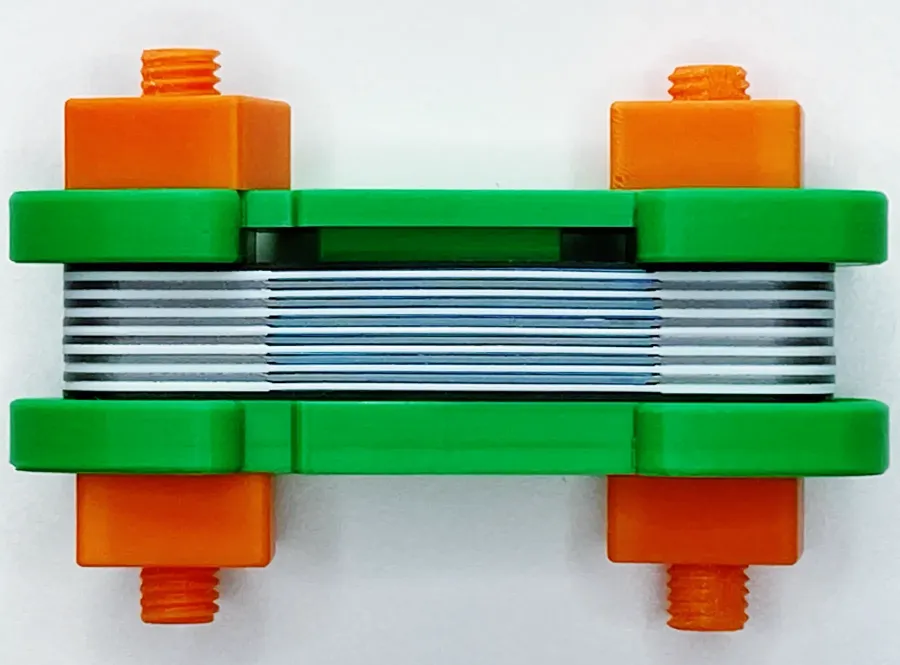
1. Perfect Alignment: Remove the safety bracket to view the 30 custom spacers, adjusted to the optimal thickness. Since these spacers are free to move, you can customize your cutting width freely, down to the millimeter.
2. Engineered for Accuracy: The razor blade slot is secured by an azure blank piece. This design manages manufacturing costs while significantly minimizing cutting errors (erratic lines/leftover scraps), ensuring highly precise results.
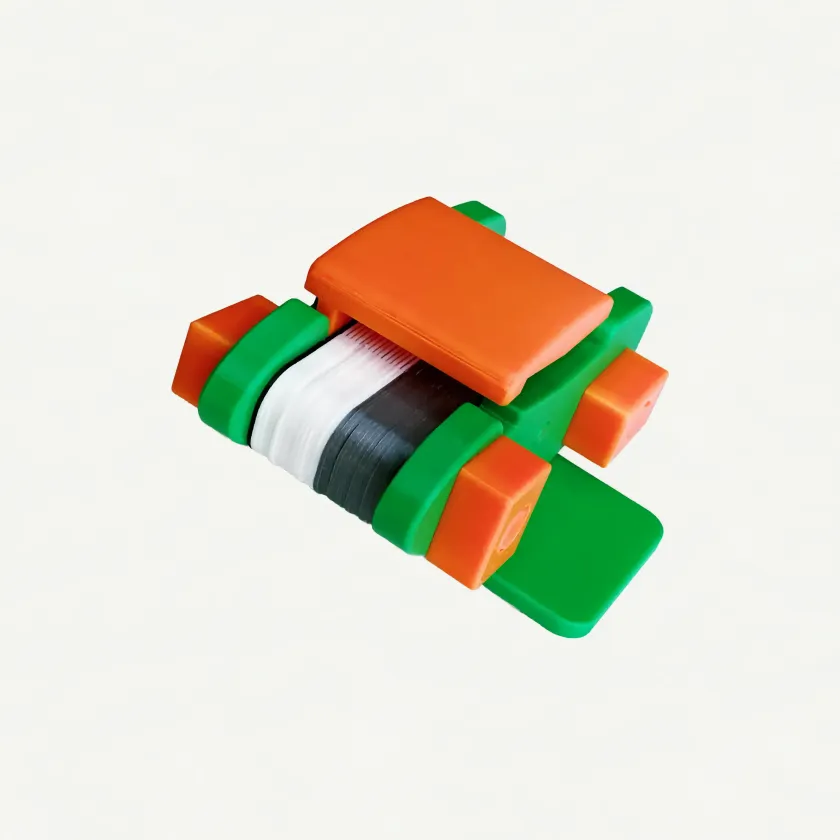
3. Basic Setup: Start by placing two black spacers on both ends, then fill the center with the white or silver spacers.

No More Guessing! The Magic Spacer Hack for Perfectly Dividing Our Store's Fortuna Pearl 21mm Width
Solve the "How to divide 21mm?" puzzle for our store's Fortuna Pearl! This simple combination (2 Black, 3 White, 1 Silver) eliminates complex millimeter calculations. It makes the razor cut position clear and is much easier than standard sets. Even beginners can now easily achieve the perfect spacing they imagine.
Naturally, as you gain experience, you can customize the spacer arrangement to create your own unique setup and make it even easier to use!

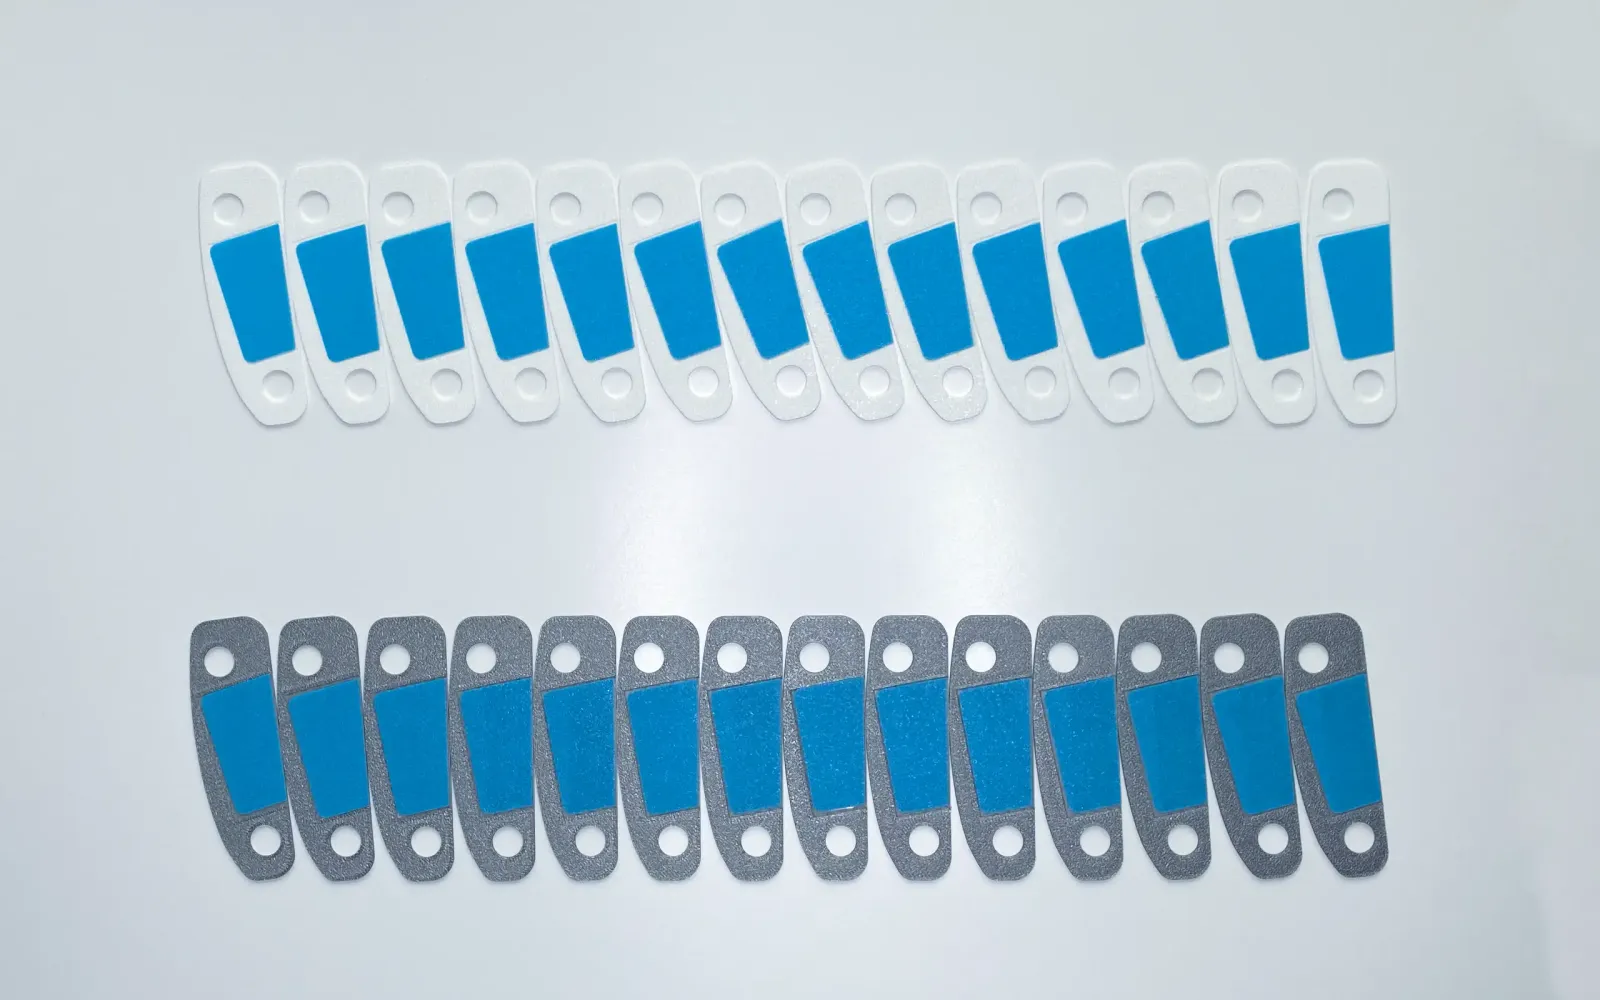
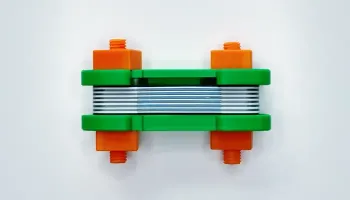
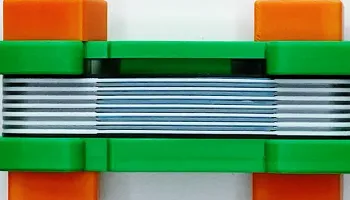
The Color Magic: 1mm Precision Spacing for 15mm Width (Stripe Hack)
Perfect for crafts using the common 15mm width! By alternating white and silver spacers, you create a beautiful 1mm scale right before your eyes. This is truly "The Color Magic"!
No complex calculations needed. The spacer colors visualize your mental image, making the cutting position incredibly easy to find. This technique shines when working with striped PP bands, allowing you to create vastly different color tones from the same material just by changing your cuts.
Naturally, as you gain experience, you can customize the spacer arrangement to create your own unique setup and make it even easier to use!

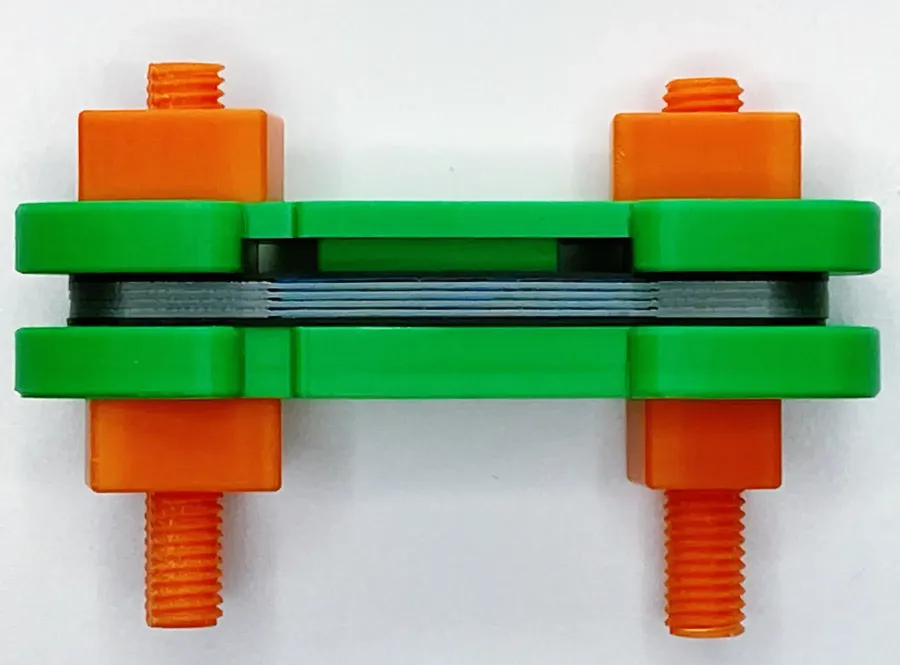
Micro-Cut Magic: The Right Color Choice for 6mm Width & Filament Jig Benefits
Time to tackle the ultra-fine 6mm micro-cut! Note that using only silver spacers can look dark; we recommend focusing on white spacers for a brighter, cleaner look during this detailed work.
This 6mm minimal width is perfect for dividing our store's Fortuna Pearl 6mm and is essential when you need materials less than 6mm wide! It eliminates the hassle of directly cutting wide materials (30mm-15mm).
The Filament Slit Jig's biggest advantage is its ability to safely and accurately achieve this minimum width. From here, the possibilities are endless—it's all up to your creativity and ideas!
Official Guide: Zero-Failure Cutting with Our Store's Jig—Basics & Safety

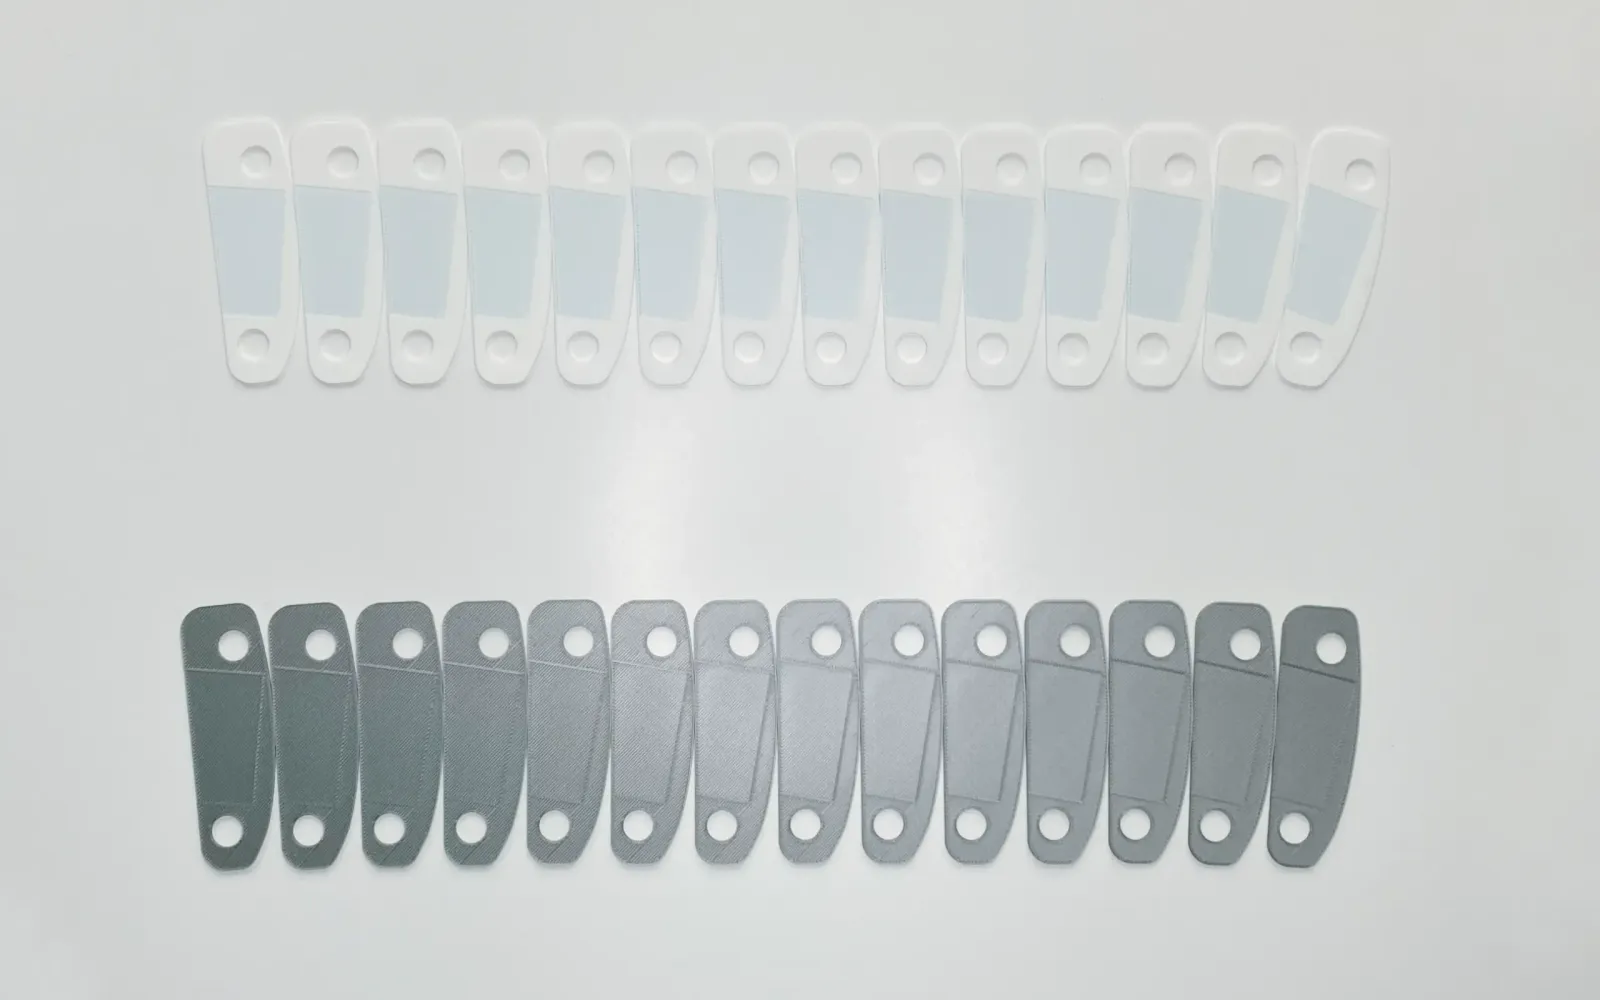
Time-Saving Tip: Mastering the Most Used 15mm Width Razor Set-Up
Boost the efficiency of your most frequently used 15mm width projects! This technique clearly explains the razor blade set-up method using 15 total spacers (alternating white and silver).
As shown in the image, arranging the spacers—alternating 1 white and 1 silver between 2 black ones—makes the cutting position instantly clear. No difficult calculations are needed!
Using custom spacers means tedious preparation is done in a flash. Enjoy smoother crafting with more fun and freedom in your creative time.

Safety First: Optimal Razor Blade Count & Setup for 15mm Width
You can set up to 14 razor blades in the 15mm width! However, to avoid failures caused by friction heat, it's crucial to know the best count for safety and perfect results.
The optimal count for comfortable cutting is 2-3 blades for women and 5 blades for men. Once you get the hang of cutting with the jig firmly fixed, you might even be able to comfortably add 2 to 3 more blades!
After identifying the 14 possible set-up points using the semi-transparent red marker, you simply decide where to place your chosen number of blades (2-5). Using this best count as a guide, both even and uneven cutting can be executed flawlessly as you intended.

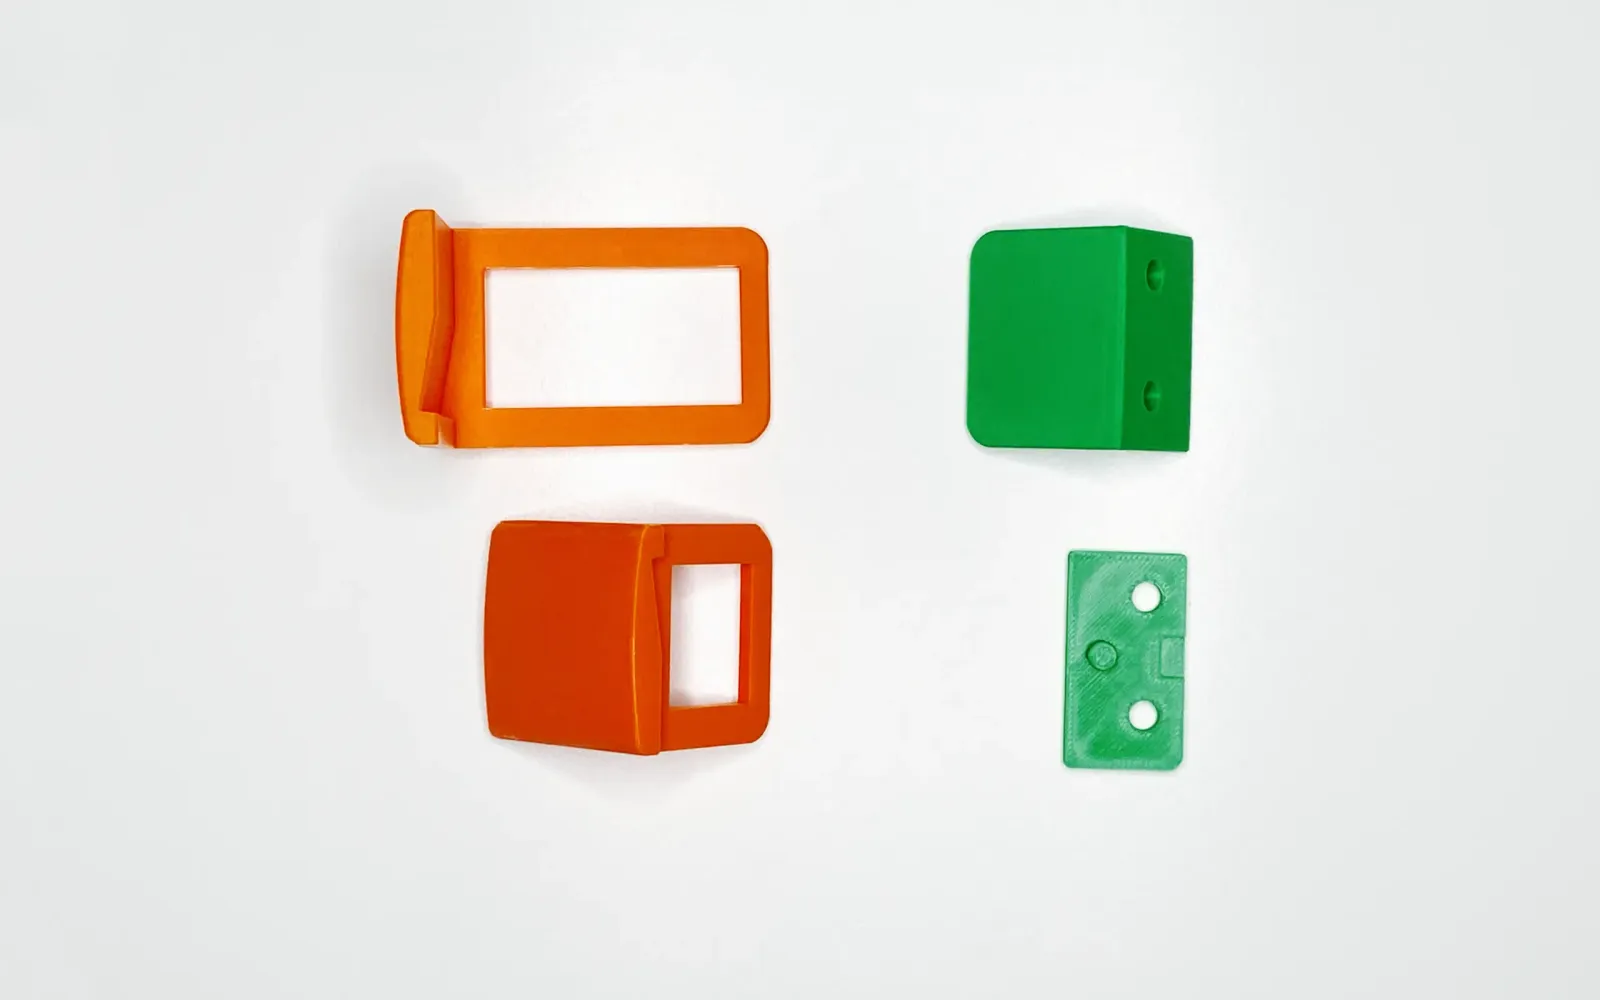
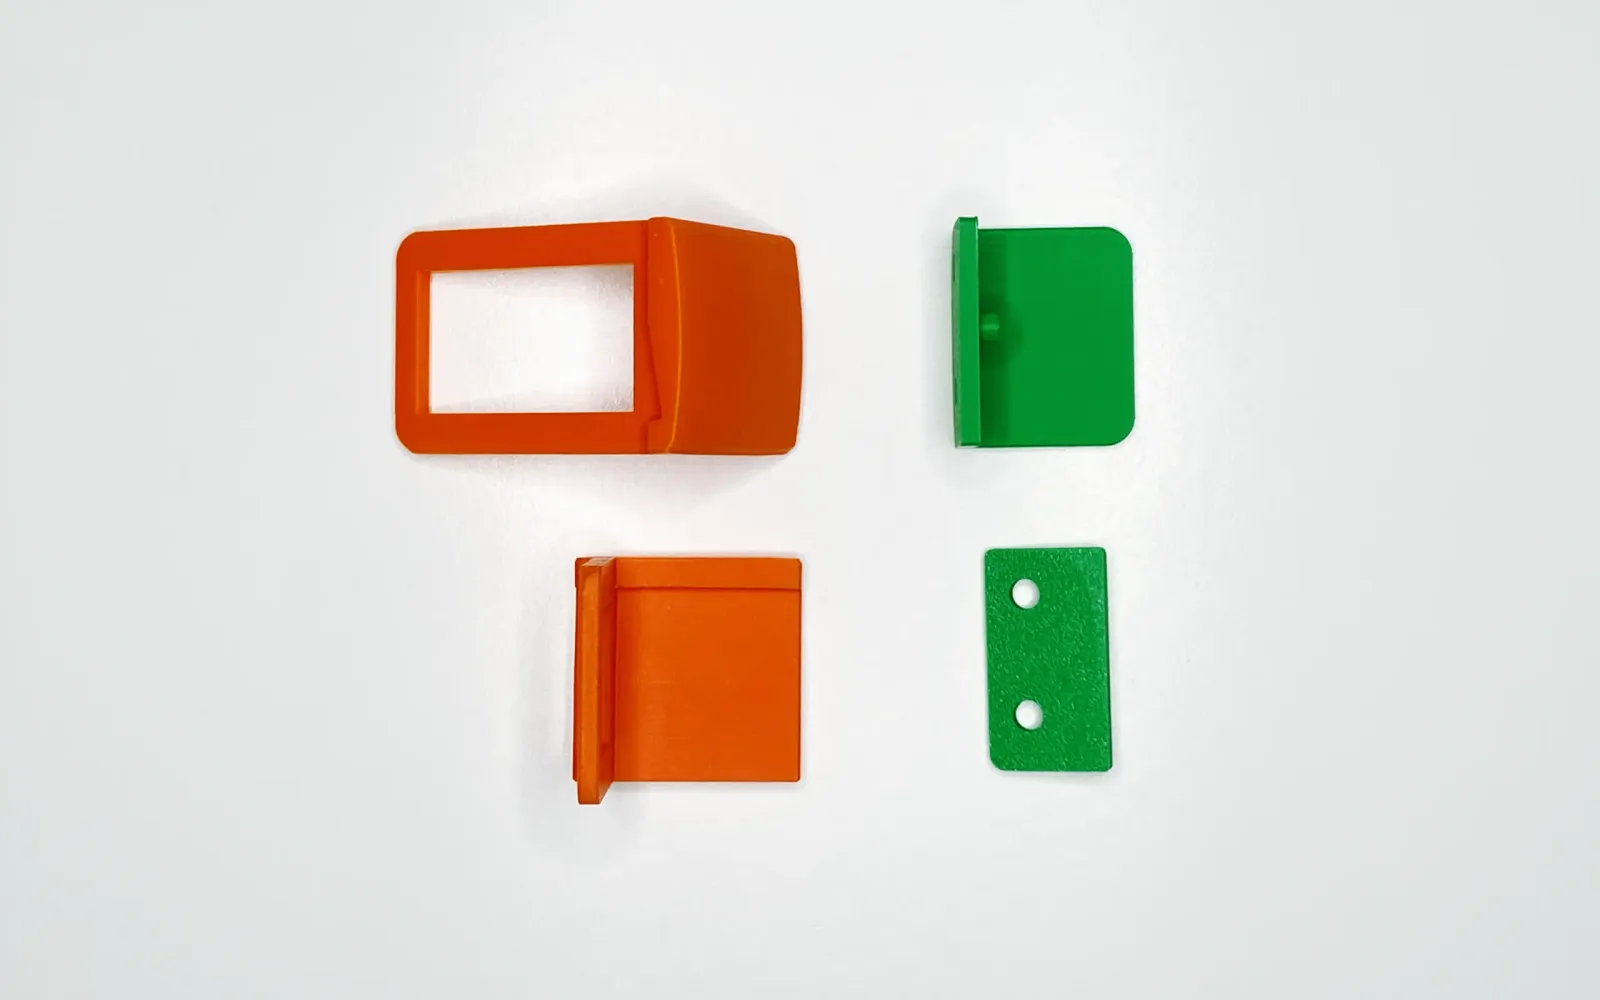
Let's Start! Preparing to Set Razor Blades into the Spacer
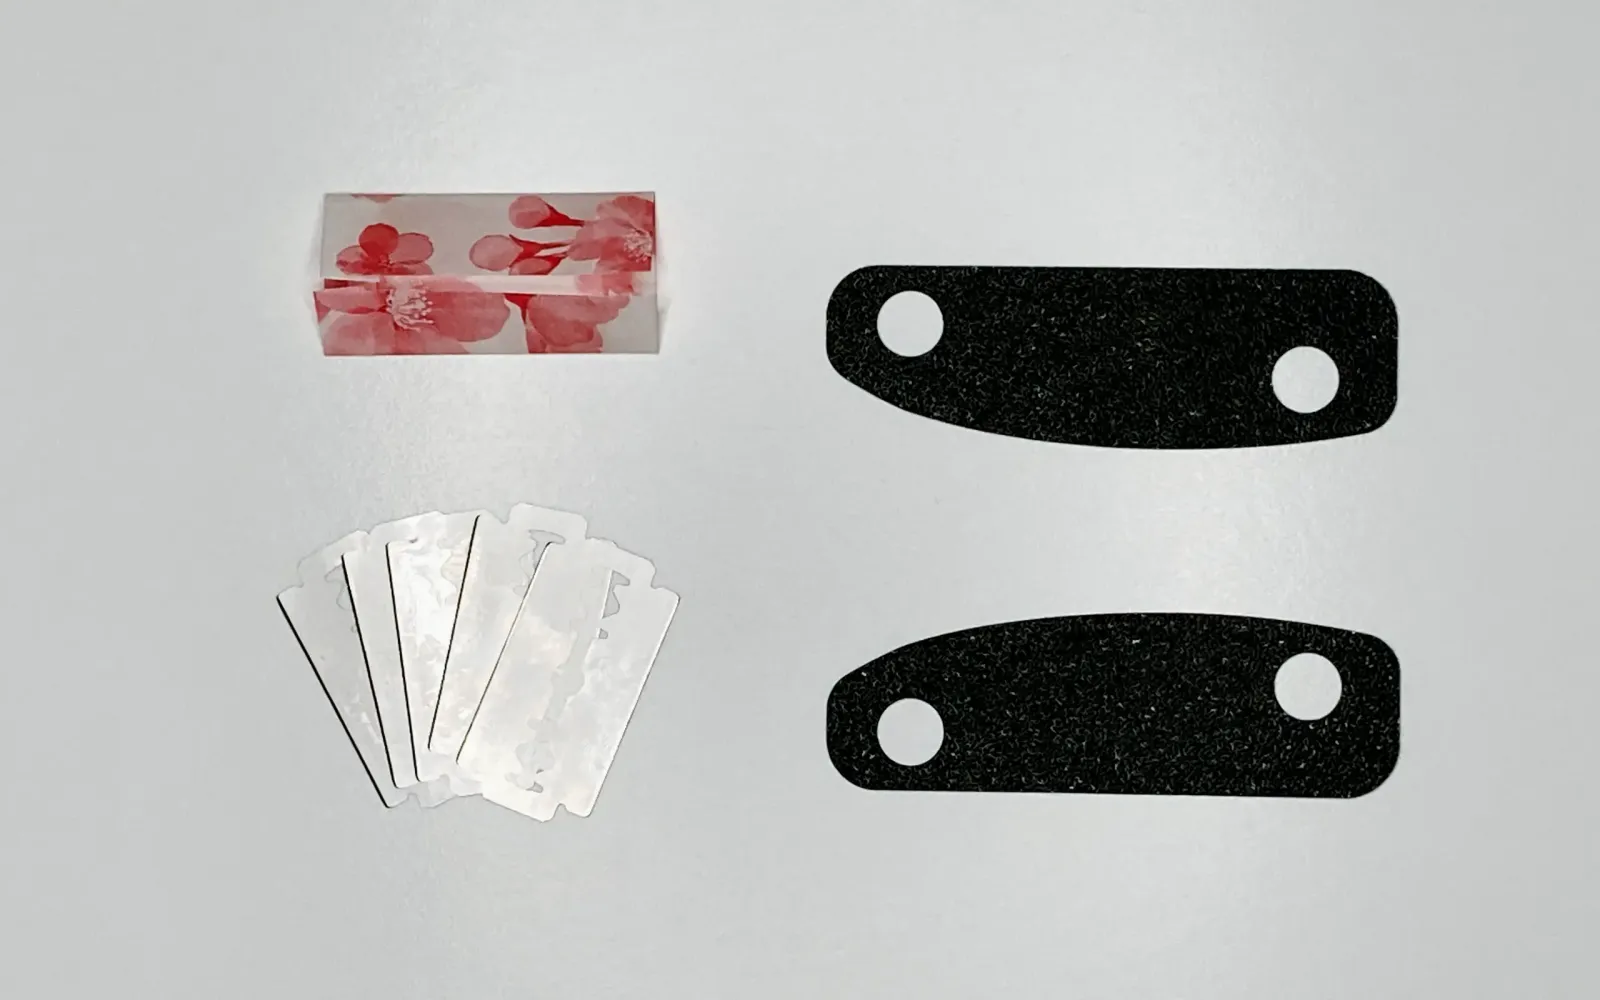
It’s time to set your razor blades into the spacer! The image clearly illustrates the set-up process, showing the spacer with the blank piece attached, the spacer with it removed, and the spacer with the blade fixed.
✨Key Information✨
- Blank Piece: The azure-colored blank piece (0.16mm thick) is very thin. Please peel it off slowly and gently. If it cracks, the spacer can still be used exclusively for blade fixing, and one spare is included with your packaging.
- Double-Sided Tape: The transparent tape for fixing the blade is reusable. If the adhesive wears off, you can easily replace the tape yourself.
- Fixing: The spacer has a groove designed to hold the 0.16mm razor blade; simply align the blade with this groove to secure it.
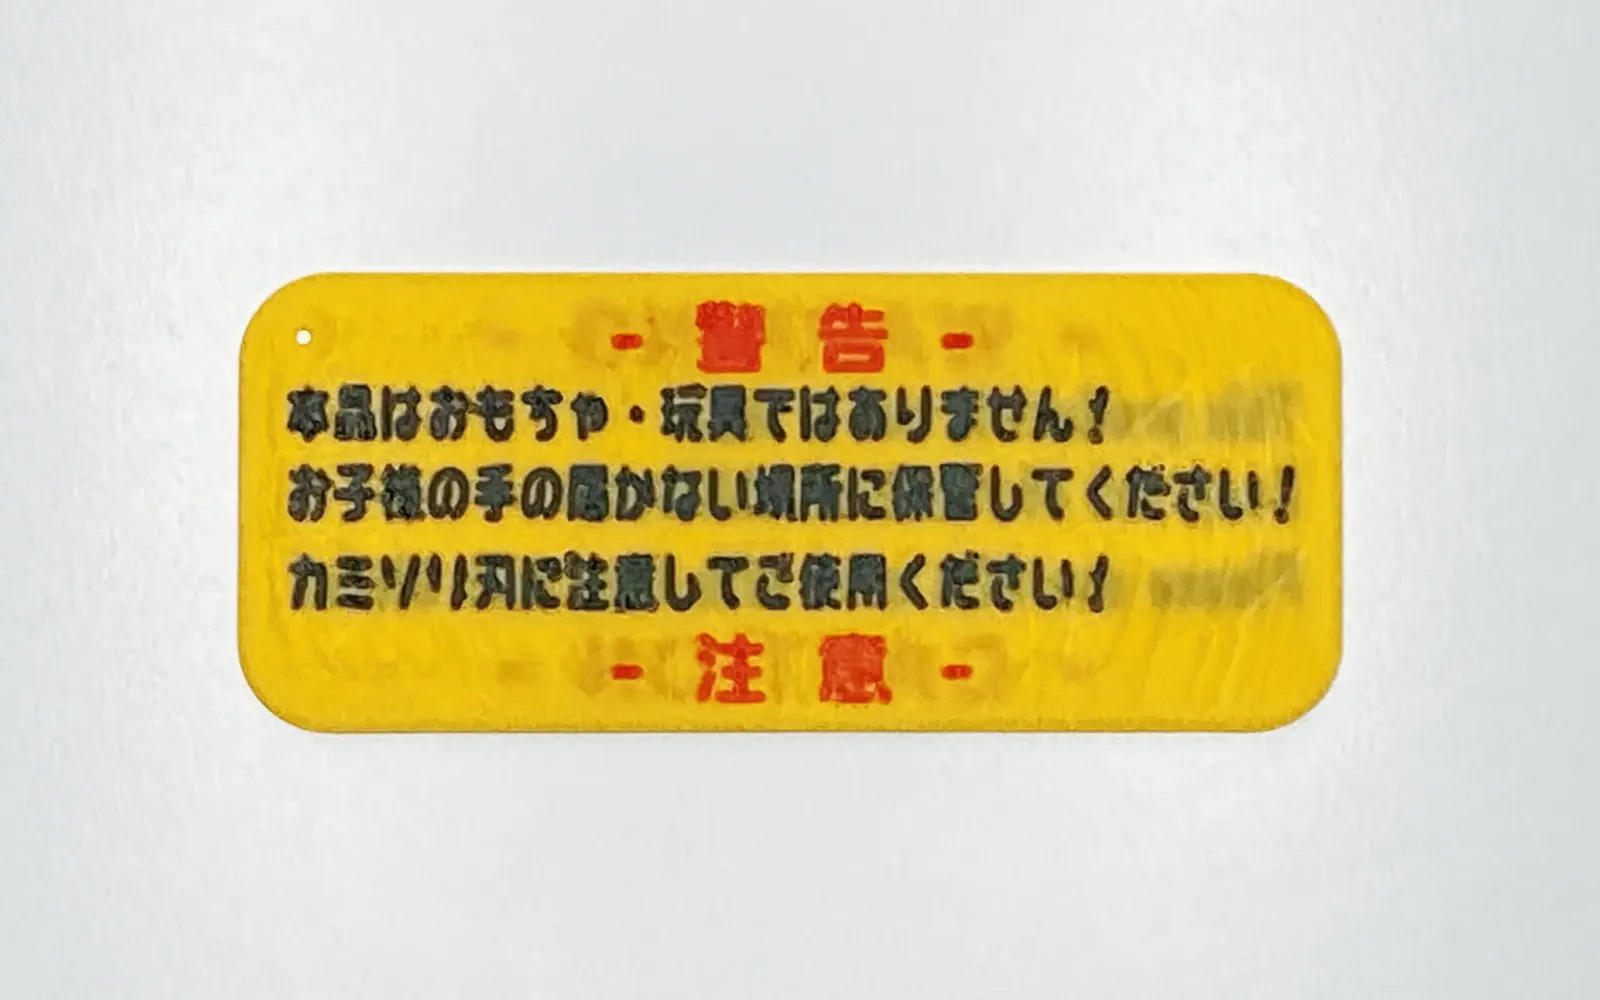
⚠️【Important】Safety Warning
Even though the blade is secured by the groove, it is not completely safe. If you plan to work primarily freehand, we strongly recommend using a single-edged razor blade to prevent accidents.

The Final Safety Check: Never Make a Mistake Setting Your Razor Blade Again
We use a red marker to show the correct groove position and explain with one OK example and two NG examples.
- ❌ NG 1: The blade is not fixed in the groove correctly; the angle and exposure are insufficient. Cutting will fail.
- ⭕ OK: The blade is fixed perfectly and cleanly in the groove; the cutting angle and exposure are as designed. This is the correct setup!
- ❌ NG 2: It looks fixed, but there's a large gap at the bottom, causing the blade to be exposed too much at the top. This is also a setup failure and a potential cause of accidents.
To prevent work accidents, please make sure to visually check for any problems or issues after setting up and after every few cuts. A perfect, clean fit is the key to safety and success.
How to use 100-yen clamps! The magic of firmly fixing jigs without damaging them
1. The 100-Yen Clamp: Honest Thoughts?
When securing a jig for cutting, we'll share important points you need to know and how to solve them.
Actually, when I looked for a clamp to secure my bracket, I could only find this 50mm C-Clamp at the two nearest 100-yen shops.
This clamp holds things securely and is handy, but because the price is so affordable, it lacks protective covers on the clamping ends 😢 That's the tricky part.
When I tried securing the bracket with it just as it was, I made a mistake: the clamping point on my precious jig got dented, and scratch marks were left on the table I was working on... what a fail!
【Slide Next】to see the solution: 💖 Scratch-Free Setup! Check out how to make an instant protective cover with a rubber sheet!
2. Scratch-Free Setup! How to Make an Instant Protective Cover with a Rubber Sheet
As shared in the previous post, using clamps without a protective cover can unfortunately scratch your valuable jigs and tables 😢
So, as a quick fix, I used a rubber sheet and double-sided tape to create an instant protective cover.
With this, you can secure your bracket and table tightly and safely without worrying about scratches!
If your clamp doesn't have protective pads, please try this method! Let's keep our precious crafting tools beautiful for a long time 💖
【Slide Next】to see: 💖 Securing an L-shaped bracket safely with a 100-yen C-Clamp!
3. 💖 Securing an L-shaped Bracket Safely with a 100-Yen C-Clamp
Now that we have prepared our 100-yen C-Clamp with the protective cover from the last step, let's finally attach the L-shaped bracket to the table!
This time, I set it up at a 90-degree angle to the edge of the table. This is key to preventing the jig from wiggling when you pull it during the cutting process ✨
When you check the fixture, you'll find that even if there's a little play side-to-side, it's held super securely in the pulling direction! Now we can proceed with our crafting confidently 😊
This was a demo test to see if "Can a 100-yen clamp actually work?", but if you feel any concern, it might be wise to choose a slightly pricier, but more reliable clamp from a DIY center!
Thank you so much for watching until the end. I hope this helps you comfortably and smartly upgrade your workspace for easy and safe crafting 💖


